How to Install a Window AC Unit
Step-by-step window AC installation guide for a safe, energy-efficient setup. Learn how to install a window AC unit with the right tools and tips.

A proper window AC installation makes your home more comfortable, saves energy, and helps your unit run safely. It also keeps your AC from working too hard—or falling out of the window! By planning ahead and knowing what tools you need, most people can handle the job on their own.
This guide will cover:
- How to choose an AC unit based on your window size, room dimensions, and electrical setup
- A full installation walkthrough, from prepping the window to sealing, securing, and testing the unit
- Tips for handling non-standard windows, using support brackets, and following safety guidelines
- Maintenance advice to keep your AC running efficiently season after season
<div class="rt-cta"><a class="cta-link-button inline-link" href="https://www.fleetfarm.com/category/home-improvement/heating-venting-cooling/cooling/air-conditioners/_/N-2849253321">Order a New AC Window Unit</a></div>
Before You Begin: Choose the Right Unit
The first and most important step is picking the right air conditioner for your window. Not all units fit every window, and size matters when it comes to cooling power.
Before you shop, take a few quick measurements and match your room’s needs with the right model.
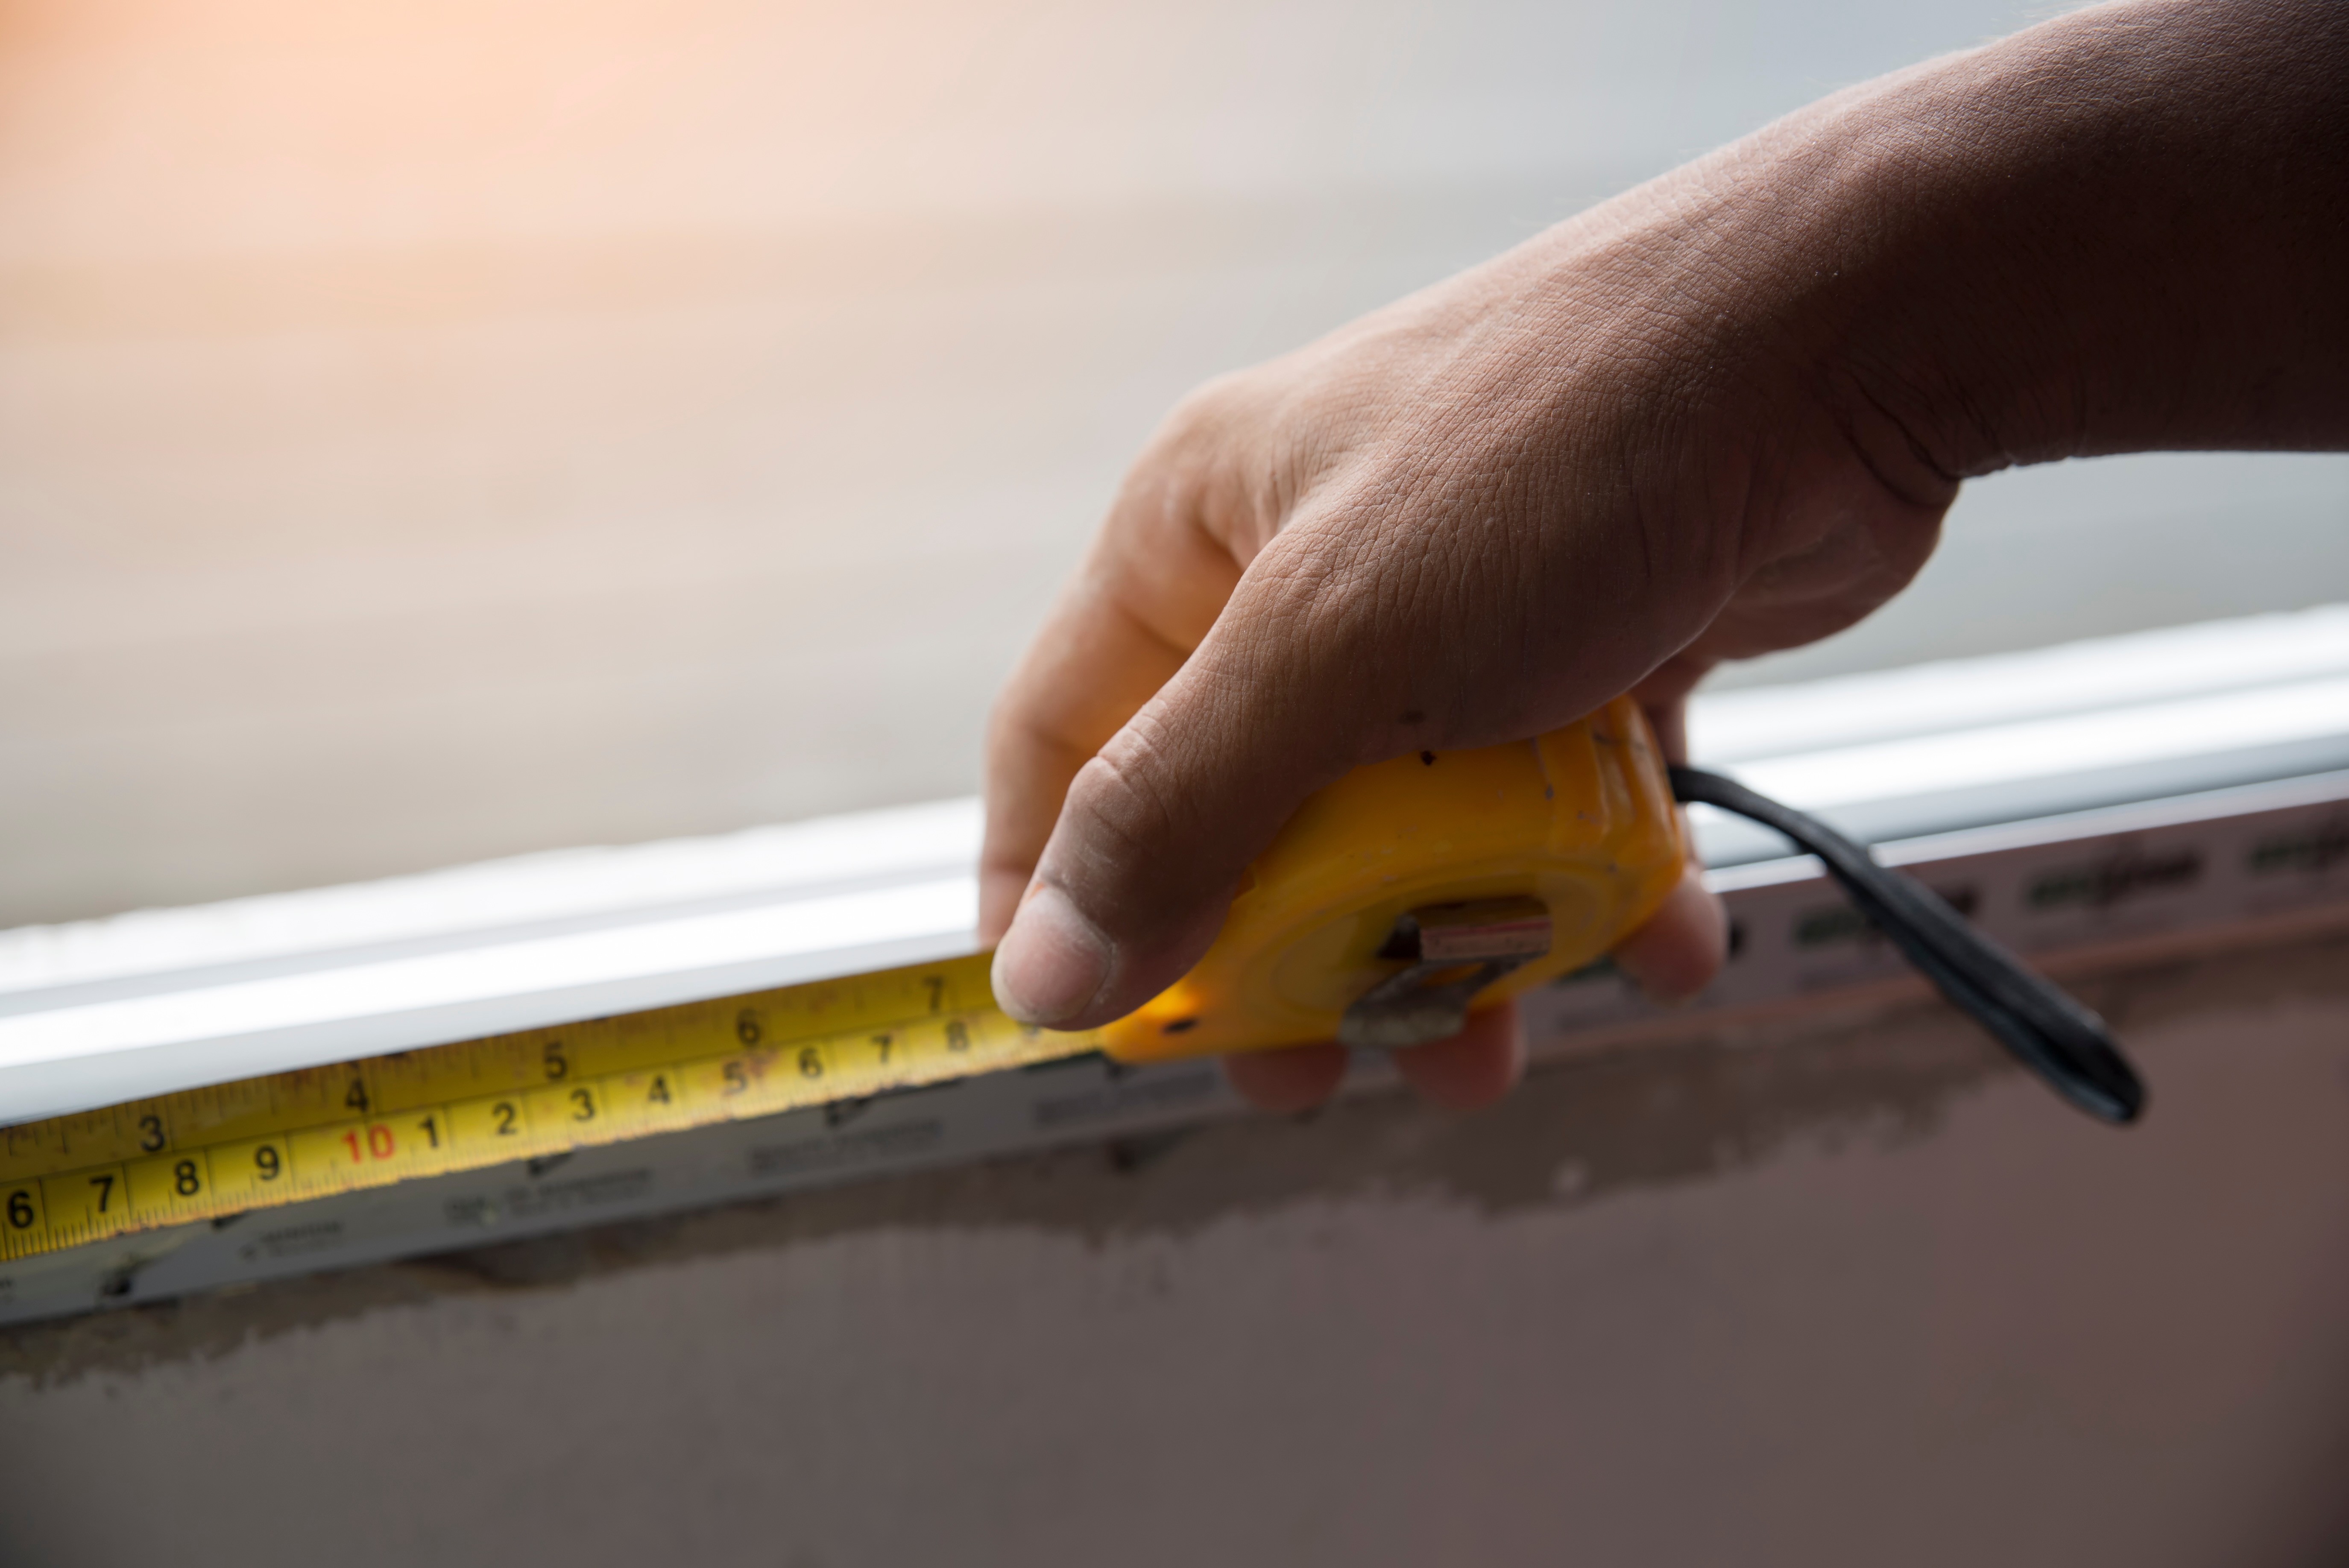
Measuring Your Window and Room
Matching your AC to the size of your space is easier than you might think. You can do it in three easy steps:
- Start by measuring the inside width and height of your window. You’ll need these numbers to make sure the unit fits securely and seals properly.
- Next, figure out how much cooling power you need. Air conditioners are rated in BTUs, which measure how much heat they can remove from a room. Use the manufacturer’s chart to match the right BTU rating to your room size.
- Avoid choosing a unit that’s too big or too small. Oversized models can cool the air too quickly without removing enough humidity, while smaller units may struggle to keep up.
Where is the best place to put a window air conditioner? The best spot is a shaded window on the north or east side of your home. Avoid south-facing windows that get direct sunlight, which can make the unit work harder and waste energy.
Electrical and Circuit Requirements
Before you plug in your new AC unit, make sure your home’s electrical setup can handle it. Most smaller window units run on 115V and need a 15-amp outlet. Larger models may require a 220V outlet with 20 amps of power. Always check the label on your unit to be sure.
It’s best to plug your AC into a dedicated circuit, one that isn’t shared with other big appliances. This helps prevent blown fuses or tripped breakers.
Safety Tip: Never use an extension cord with a window AC. It can overheat and cause a fire. If your cord won’t reach, consider having an outlet professionally installed closer to your window.
Gather Your Tools and Materials
Gather all the necessary tools and materials before you begin your window AC installation. This will avoid last-minute trips to the store, and you may already have many of these simple materials in your house.
Most air conditioners for windows are rated for 115, 125, or 220 volts, and typically need 15 to 20 amps to run safely. Check your unit’s specs and your home’s power supply before you start.
Just getting started with DIY? Essential Tools for New Homeowners can help you build a solid beginner toolkit.
Must-Have Tools
You’ll need a few basics to install your AC:
- Flathead and Phillips screwdrivers
- A cordless drill
- A level
- A tape measure
These help with mounting, aligning, and securing the unit.
A pair of scissors or a utility knife is also useful for trimming insulation or weatherstripping.
Need power tools? Check out the Milwaukee Power Tool Starter Kit for dependable options perfect for beginners.
Installation Materials Checklist
Along with your tools, make sure you have the right materials to secure and seal your unit. At a minimum, you’ll need foam weatherstripping, screws, and L-brackets to hold the window sash in place.
If your air conditioner is heavy or not well supported by the window frame, add a support bracket for extra safety. For better insulation and energy savings, consider using rigid foam panels around the unit as well.
Here’s a quick rundown:
Tools You'll Need:
- Flathead screwdriver
- Phillips screwdriver
- Cordless drill
- Level
- Tape Measure
- Scissors or utility knife
Installation Materials:
- Foam weatherstripping
- Screws (Usually provided with the unit)
- L-brackets to secure the window sash
- Support bracket (recommended for heavier units)
- Rigid foam insulation panels (optional for added energy efficiency)
Step-by-Step Installation Guide
Now that you’ve got your tools and materials, it’s time to begin the window AC installation. This part of the guide walks you through each step, from prepping your window to powering up the unit. Take your time, follow the instructions, and your AC will be running in no time.
Step 1: Prep the Window
Start by cleaning the window sill and the surrounding frame. Remove any dust, dirt, or debris that could get in the way of a tight seal. If there’s a screen in the window, take it out and store it safely.
Inspect the window frame for signs of damage like rot, cracks, or soft spots. A weak frame won’t hold the weight of an AC unit safely.
Finally, add foam weatherstripping around the edges of the window frame. This helps seal gaps, blocks drafts, and keeps bugs and hot air out once the unit is in place.
Step 2: Prep the AC Unit
Before lifting the unit into place, get it ready while you’re still on the ground. Start by attaching the accordion-style side panels, which help fill gaps between the unit and the window frame. Slide them into the side rails, then secure them with the provided screws.
Some models also come with a top or bottom mounting rail to guide placement and add stability. Install these now if needed.
Follow the manufacturer’s instructions closely. Each air conditioner for window installation may have unique parts or steps. Double-check that everything is tight and secure so the unit doesn’t shift once it’s in the window.
Step 3: Lift and Position the Unit
Window AC units can be heavy and awkward, so it’s best to have a second person help with this part. Carefully lift the unit together and guide it into the open window from inside your home.
Use any marks or guides on the unit or frame to center it properly in the opening. Make sure the bottom mounting rail sits flat on the window sill.
Install a support bracket underneath if your model or local building code requires it. This is especially important for heavier models. Mounting window AC units without proper support can damage the window and can even be unsafe.
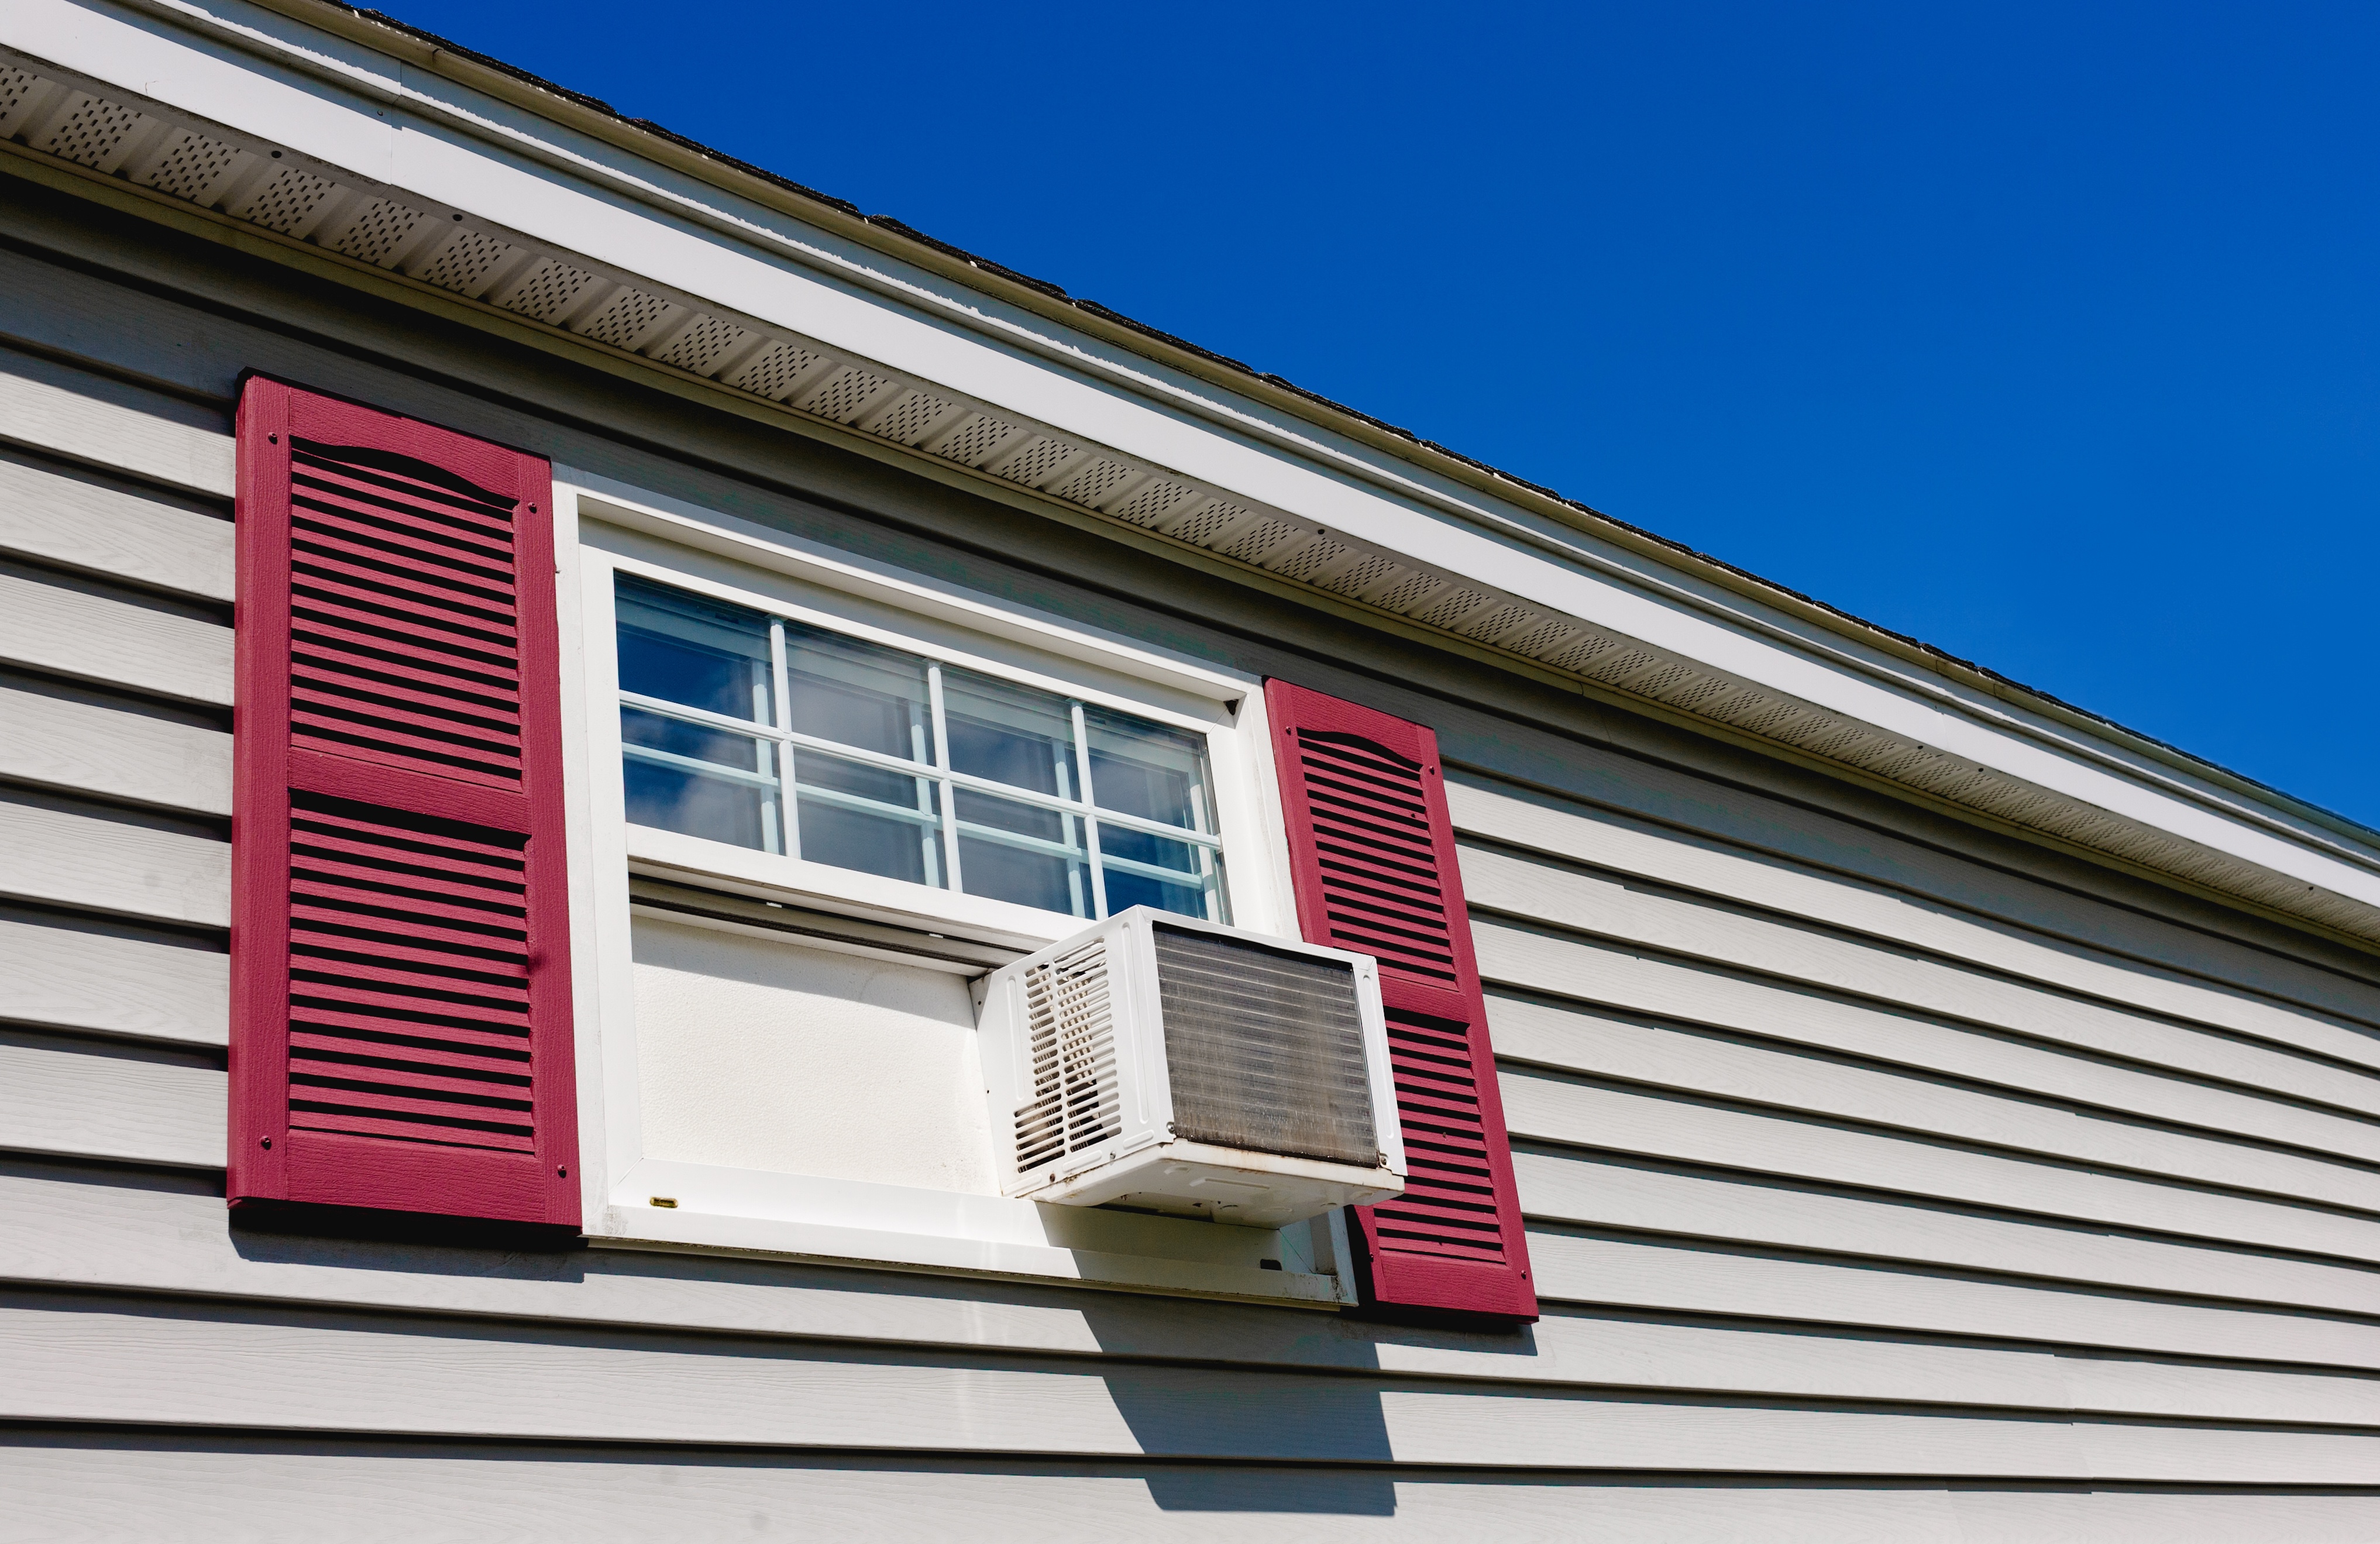
Step 4: Secure and Seal the Unit
Once the unit is in place, lower the window sash gently onto the top of the AC. It should rest snugly behind the top mounting rail to help keep the unit steady.
Next, pull out the accordion side panels so they reach the edges of the window frame. Use the included screws to fasten them in place, usually through small holes in the panel frames.
To prevent air leaks and improve energy efficiency, seal the gaps at the top and sides of the unit. Foam weatherstripping works well, or you can use rigid insulation panels for a tighter seal and better insulation.
Finally, install L-brackets to secure the sash and keep it from being accidentally opened. These small brackets add safety and stability, especially if you have kids or pets nearby.
Step 5: Final Setup and Testing
Once the unit is secure, check to make sure it’s level, or slightly tilted back if your model requires it. Some modern units are designed to sit level, while older ones may need a small tilt for drainage. Always follow your unit’s guidelines.
Plug the AC directly into a grounded wall outlet that matches its voltage and amperage needs. Avoid extension cords for safety.
Turn the unit on and test it out. Check for strong airflow, minimal noise, and overall stability. If anything feels loose or sounds off, turn it off and double-check your installation.
Is it safe to run a window air conditioner when not home? Yes, it’s generally safe if the unit is properly installed and plugged directly into a suitable outlet. Just make sure the area is clear of flammable materials and the filter is clean to avoid overheating.
Special Considerations
While most window AC installations follow a standard process, there are a few special situations to remember. Unit designs, different window types, and added safety equipment can impact how you install your air conditioner.
Tilt or No Tilt? Modern AC Guidelines
Older window AC units often needed to be installed with a slight backward tilt of about ½ to 1 inch. This tilt helps water drain properly. But newer models no longer require this tilt.
Most modern units from brands like LG, Frost King, and Perfect Aire now feature built-in sloped drain pans. These drain water even when the unit is installed level, making the job easier and safer.
Always check your owner’s manual before deciding.
What happens if you don't put a window air conditioner in the window? If the unit isn’t fully supported in the window, it can fall, leak, or run inefficiently. Window ACs are built for that space—installing them anywhere else risks damage to the unit and your home.
Non-Standard Windows: Sliders and Casements
If your home has horizontal sliding windows or casement windows, standard window ACs won’t fit the usual way. For horizontal sliders, you may need special mounting kits or brackets that allow vertical placement and sealing.
Casement windows, which open outward like a door, usually require a different solution altogether. The best option is a portable air conditioner with a custom vent panel that fits into the window opening. These models include a flexible exhaust hose that vents hot air outside, making them ideal for non-standard setups.
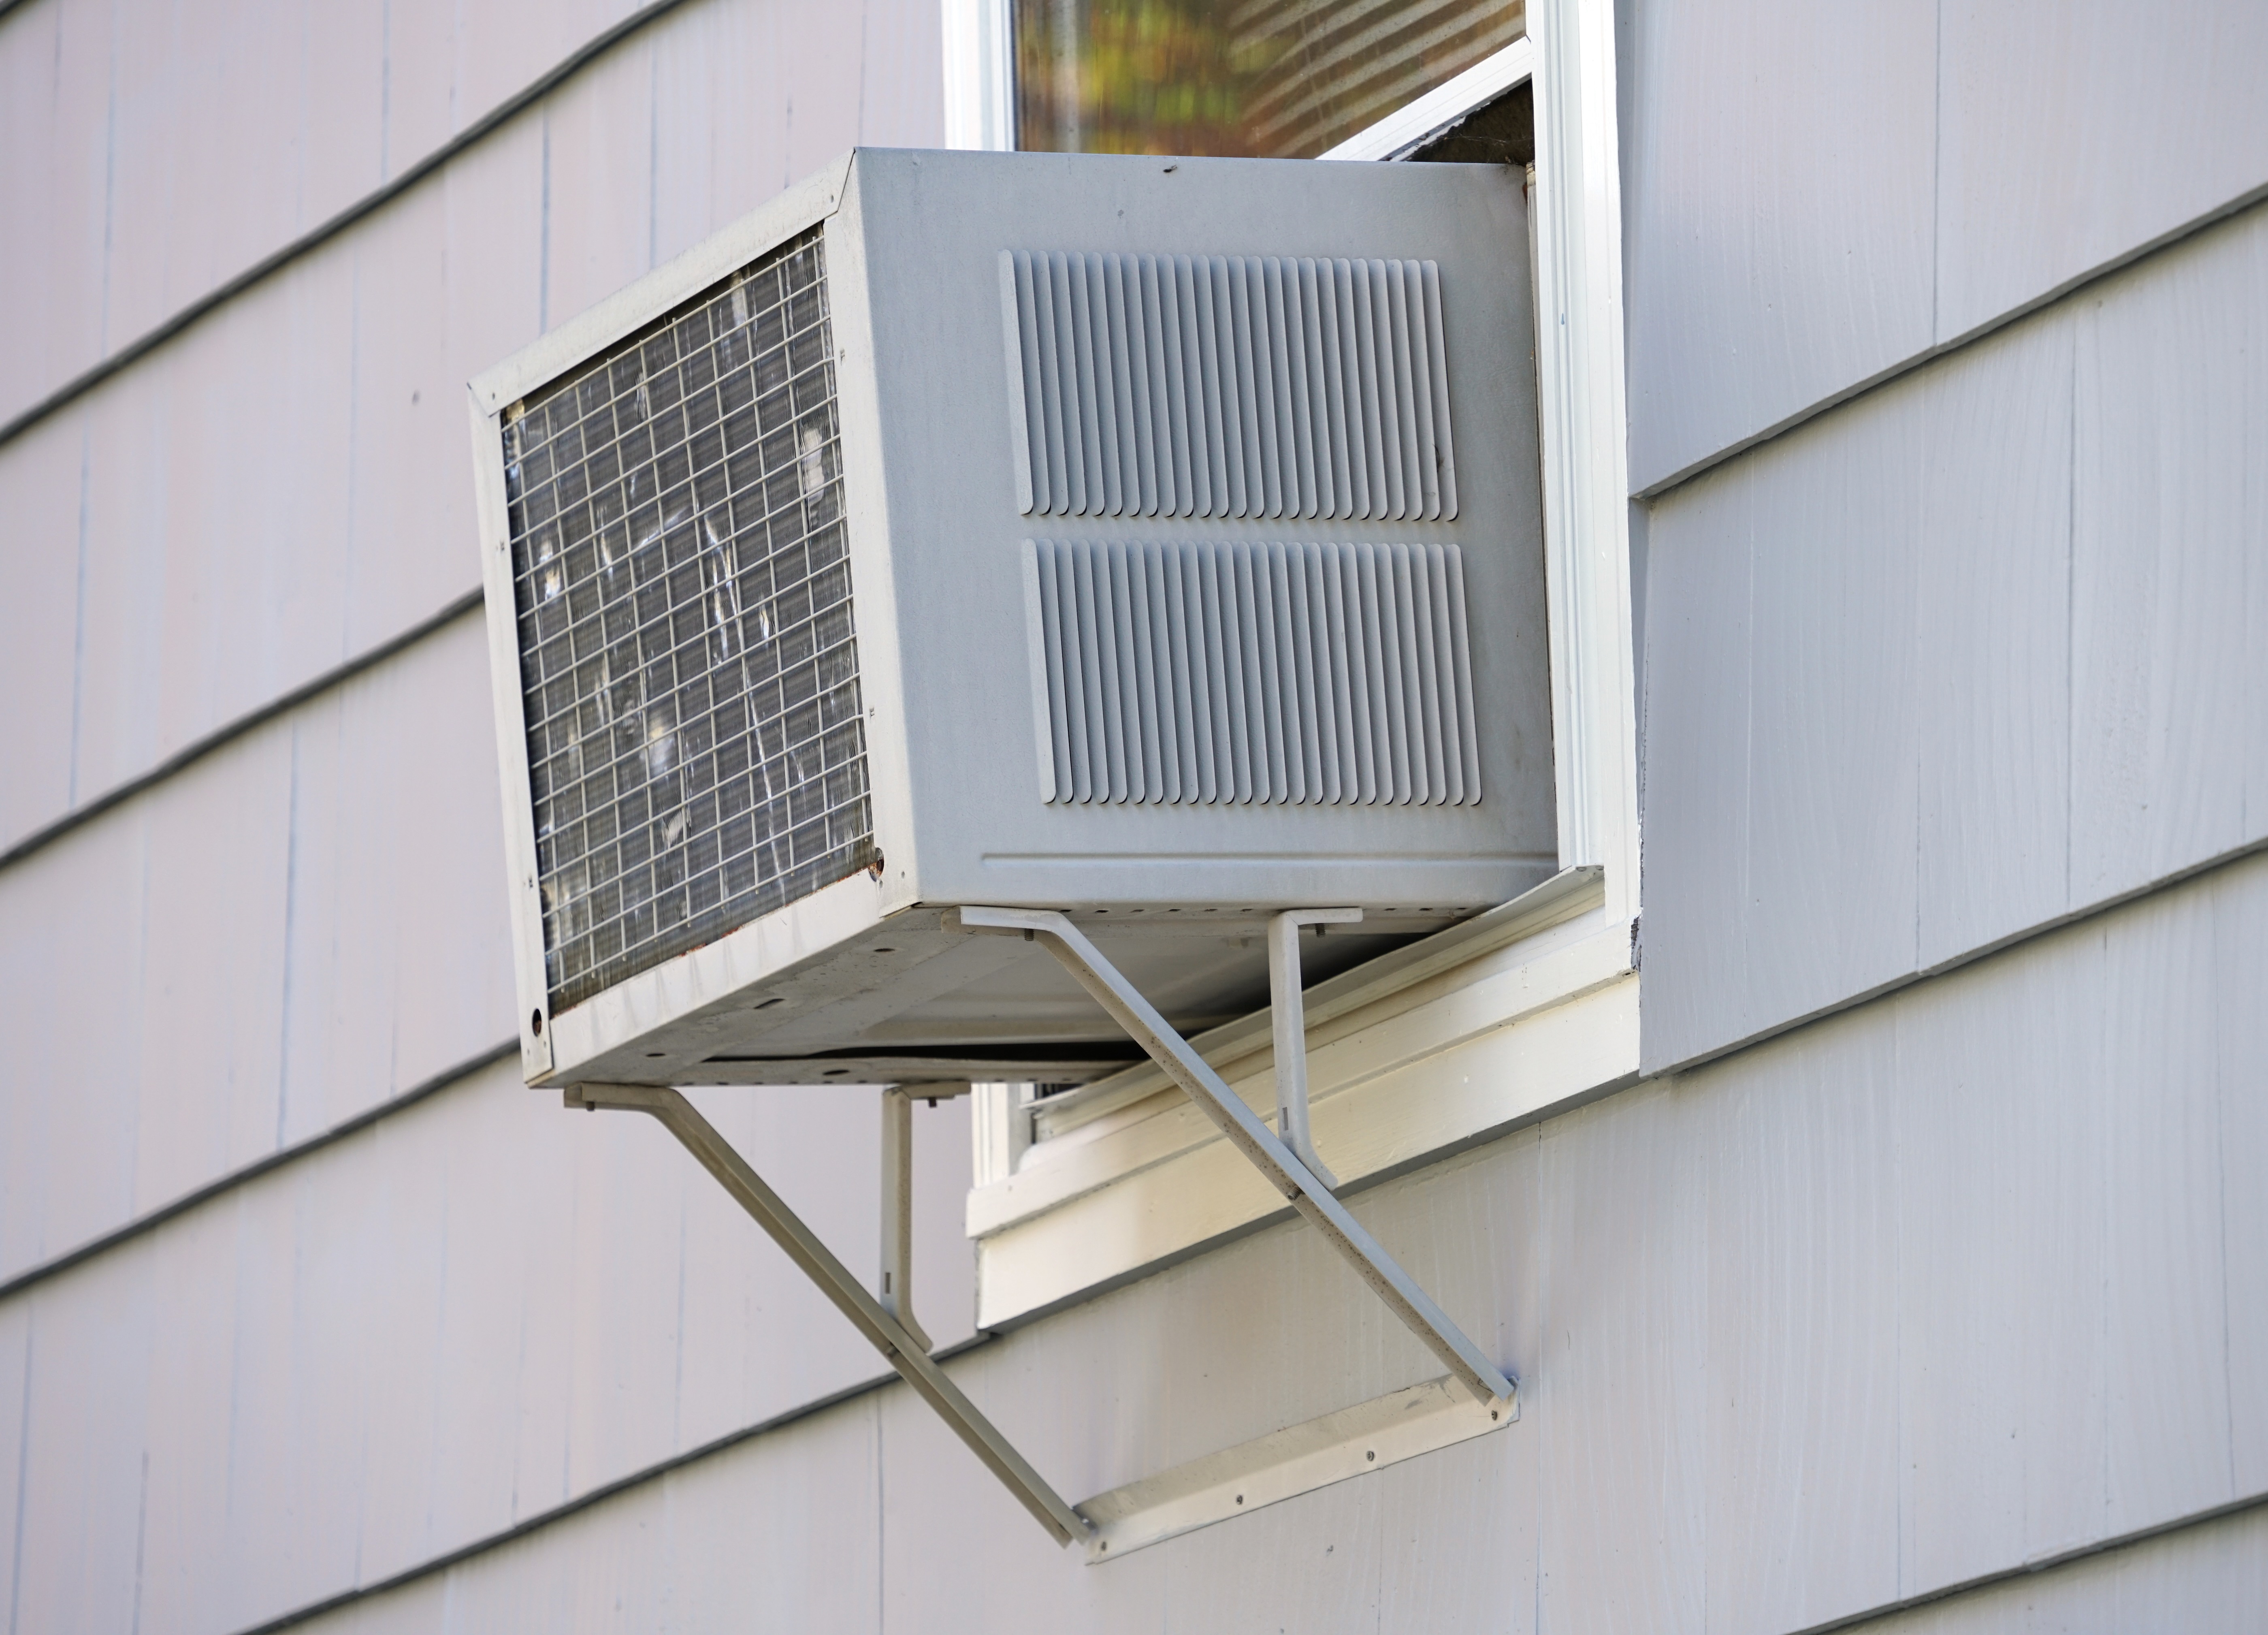
Why Support Brackets Matter
Support brackets play a key role in mounting window AC units, especially heavier ones. They help carry the unit’s weight, reducing stress on the window frame and sill.
In some cities, support brackets are actually required by law for safety. Even if they’re not, using one adds extra stability and helps prevent long-term damage to your window.
Can an air conditioner be too heavy for a window? Yes. If a unit is too heavy and not properly supported, it can bend or break the window frame. Or even fall out. Always check the weight limits for your window and use a bracket when in doubt.
Maintenance Tips for Long-Term Performance
Keeping your window AC in top shape continues beyond installation. Regular maintenance helps your unit run better, last longer, and use less energy. A little upkeep can go a long way.
Related Article: Don’t forget about cold-weather care. Our Winter Home Maintenance Checklist has tips for storing or winterizing your AC.
Filter, Coil, and Drain Maintenance
Start by cleaning the filter once a month. Most window AC units have a washable filter you can rinse and reuse. A clean filter helps air flow better and keeps your indoor air fresher.
Wipe down the coils inside the unit to remove dust and grime. Dirty coils make the unit work harder, which can drive up your energy bill.
Lastly, check the drain hole at the back of the unit. Make sure it’s clear so water can flow out—standing water can lead to mold or damage if left unchecked.
Post-Storm and Seasonal Checkups
After a major storm or heavy winds, take a few minutes to inspect your window AC. Check that the support brackets are still secure and that weather seals haven’t loosened or torn.
Before each cooling season begins, give your unit a full once-over. Clean the filter, wipe the exterior, and test the settings to make sure everything still works as expected. A quick check now can prevent mid-summer problems later.
Final Tips for a Trouble-Free Install
Installing a window AC unit correctly helps keep your home cool, your energy bill lower, and your unit running safely. Start by measuring your window and matching the AC size to your room. Use the proper tools, follow the steps carefully, and ensure everything is sealed correctly and supported.
Don’t forget the little things. Installing support brackets when needed, securing the sash with L-brackets, and sealing gaps with foam can make a big difference. Regular maintenance like cleaning filters and checking the drain hole will also help your AC last longer.
Before you begin, gather all your tools and materials in one place. Follow each step of the guide, and double-check your work as you go. After installation, check the unit every season and after big storms to keep it in great shape.
Ready to stay cool?
<div class="rt-cta"><a class="cta-link-button inline-link" href="https://www.fleetfarm.com/category/home-improvement/heating-venting-cooling/cooling/air-conditioners/_/N-2849253321">Browse Window AC Units</a></div>