How to Salt-Cure Meat: Guide to Traditional Preservation
Discover how to salt-cure meat at home using traditional methods. Learn curing techniques, safety tips, tools, and the best cuts for bold, lasting flavor.

Curing meat is one of the oldest and most reliable ways to preserve food. Long before refrigeration, ancient cultures relied on salt to draw out moisture and keep meat safe to eat. The process dates back to approximately 3000 BC when Sumerians first used salt to preserve meat and fish. Cato the Elder, a Roman statesman, is credited with recording the first written recipe for curing meat around 300 BC.
Today, salt-curing is making a comeback with home cooks, DIY foodies, and hunters alike. In this guide, you'll learn how to cure meat at home, from choosing the right salt to picking a method, selecting tools, and ensuring food safety.
What is Salt-Curing and Why Is It Making a Comeback?
Salt-cured meat has a long history as a practical solution for preserving food before refrigeration. By drawing moisture out of meat, salt helped ancient cultures store protein for months at a time. What began as a survival tactic evolved into a culinary craft, giving rise to beloved foods like prosciutto, bacon, and corned beef.
Today, salt-curing is enjoying a revival among home cooks and food enthusiasts. People are turning to traditional methods for several reasons. Their bold flavors, hands-on satisfaction, and sustainable approach to food preservation appeal to modern tastes. Whether you're a hunter, a homesteader, or simply curious, curing your own meat offers a rewarding way to connect with your food.
The Science Behind Salt-Curing
Salt-curing works through a process called osmosis. When salt is added to meat, it pulls out moisture from the meat and from any bacteria that might be on it. Without water, bacteria can’t grow. That way, the meat stays safe to eat for a long time.
As the meat dries out, natural enzymes break down its proteins and fats. This gives salt-cured meat its rich flavor and chewy texture. Some cures also use a small amount of nitrites. These help keep the meat a nice pink color and add extra protection against harmful bacteria.
It’s a simple process with powerful results, and it’s all thanks to salt.
Choosing the Right Salt
Not all salt works the same when it comes to curing meat. Curing salt is specially made for preservation and often includes nitrites for added safety. Kosher salt is a good alternative for dry cures because of its coarse texture, while pickling salt dissolves easily in brines. Sea salt can be used, but its minerals and fine grains may affect consistency.
Always choose non-iodized salt; iodine can cause off flavors and affect the curing process. Coarse salts absorb more slowly and evenly, which helps control the cure. Fine salts work faster but can lead to uneven results if not measured carefully.
<div class="rt-cta"><a class="cta-link-button inline-link" href="https://www.fleetfarm.com/category/food-health/baking/salt-spices/_/N-3077659557">Shop curing salt and spices at Fleet Farm to stock your pantry with essentials</a></div>
Tools & Equipment for Home Curing
Curing meat at home doesn’t require a full butcher’s setup. Investing in a few specific tools will make the process safer and more successful.
- Food-grade containers or trays: Use non-reactive containers like glass or plastic to hold meat during curing.
- Kitchen scale: An accurate scale is essential for measuring salt by weight, especially if you're using the equilibrium method.
- Vacuum sealer: Vacuum sealing locks in flavor, improves salt absorption, and reduces contamination risk.
- Curing injector: This tool helps distribute brine or curing solution deep into the meat for even flavor.
- Cold storage: A dedicated refrigerator or curing chamber helps maintain a safe and steady temperature.
- Smoker or pellet grill: For finishing cured meats with rich, smoky flavor.
Three Curing Methods Explained
There are several ways to cure meat at home, and the best method depends on the cut and your comfort level.
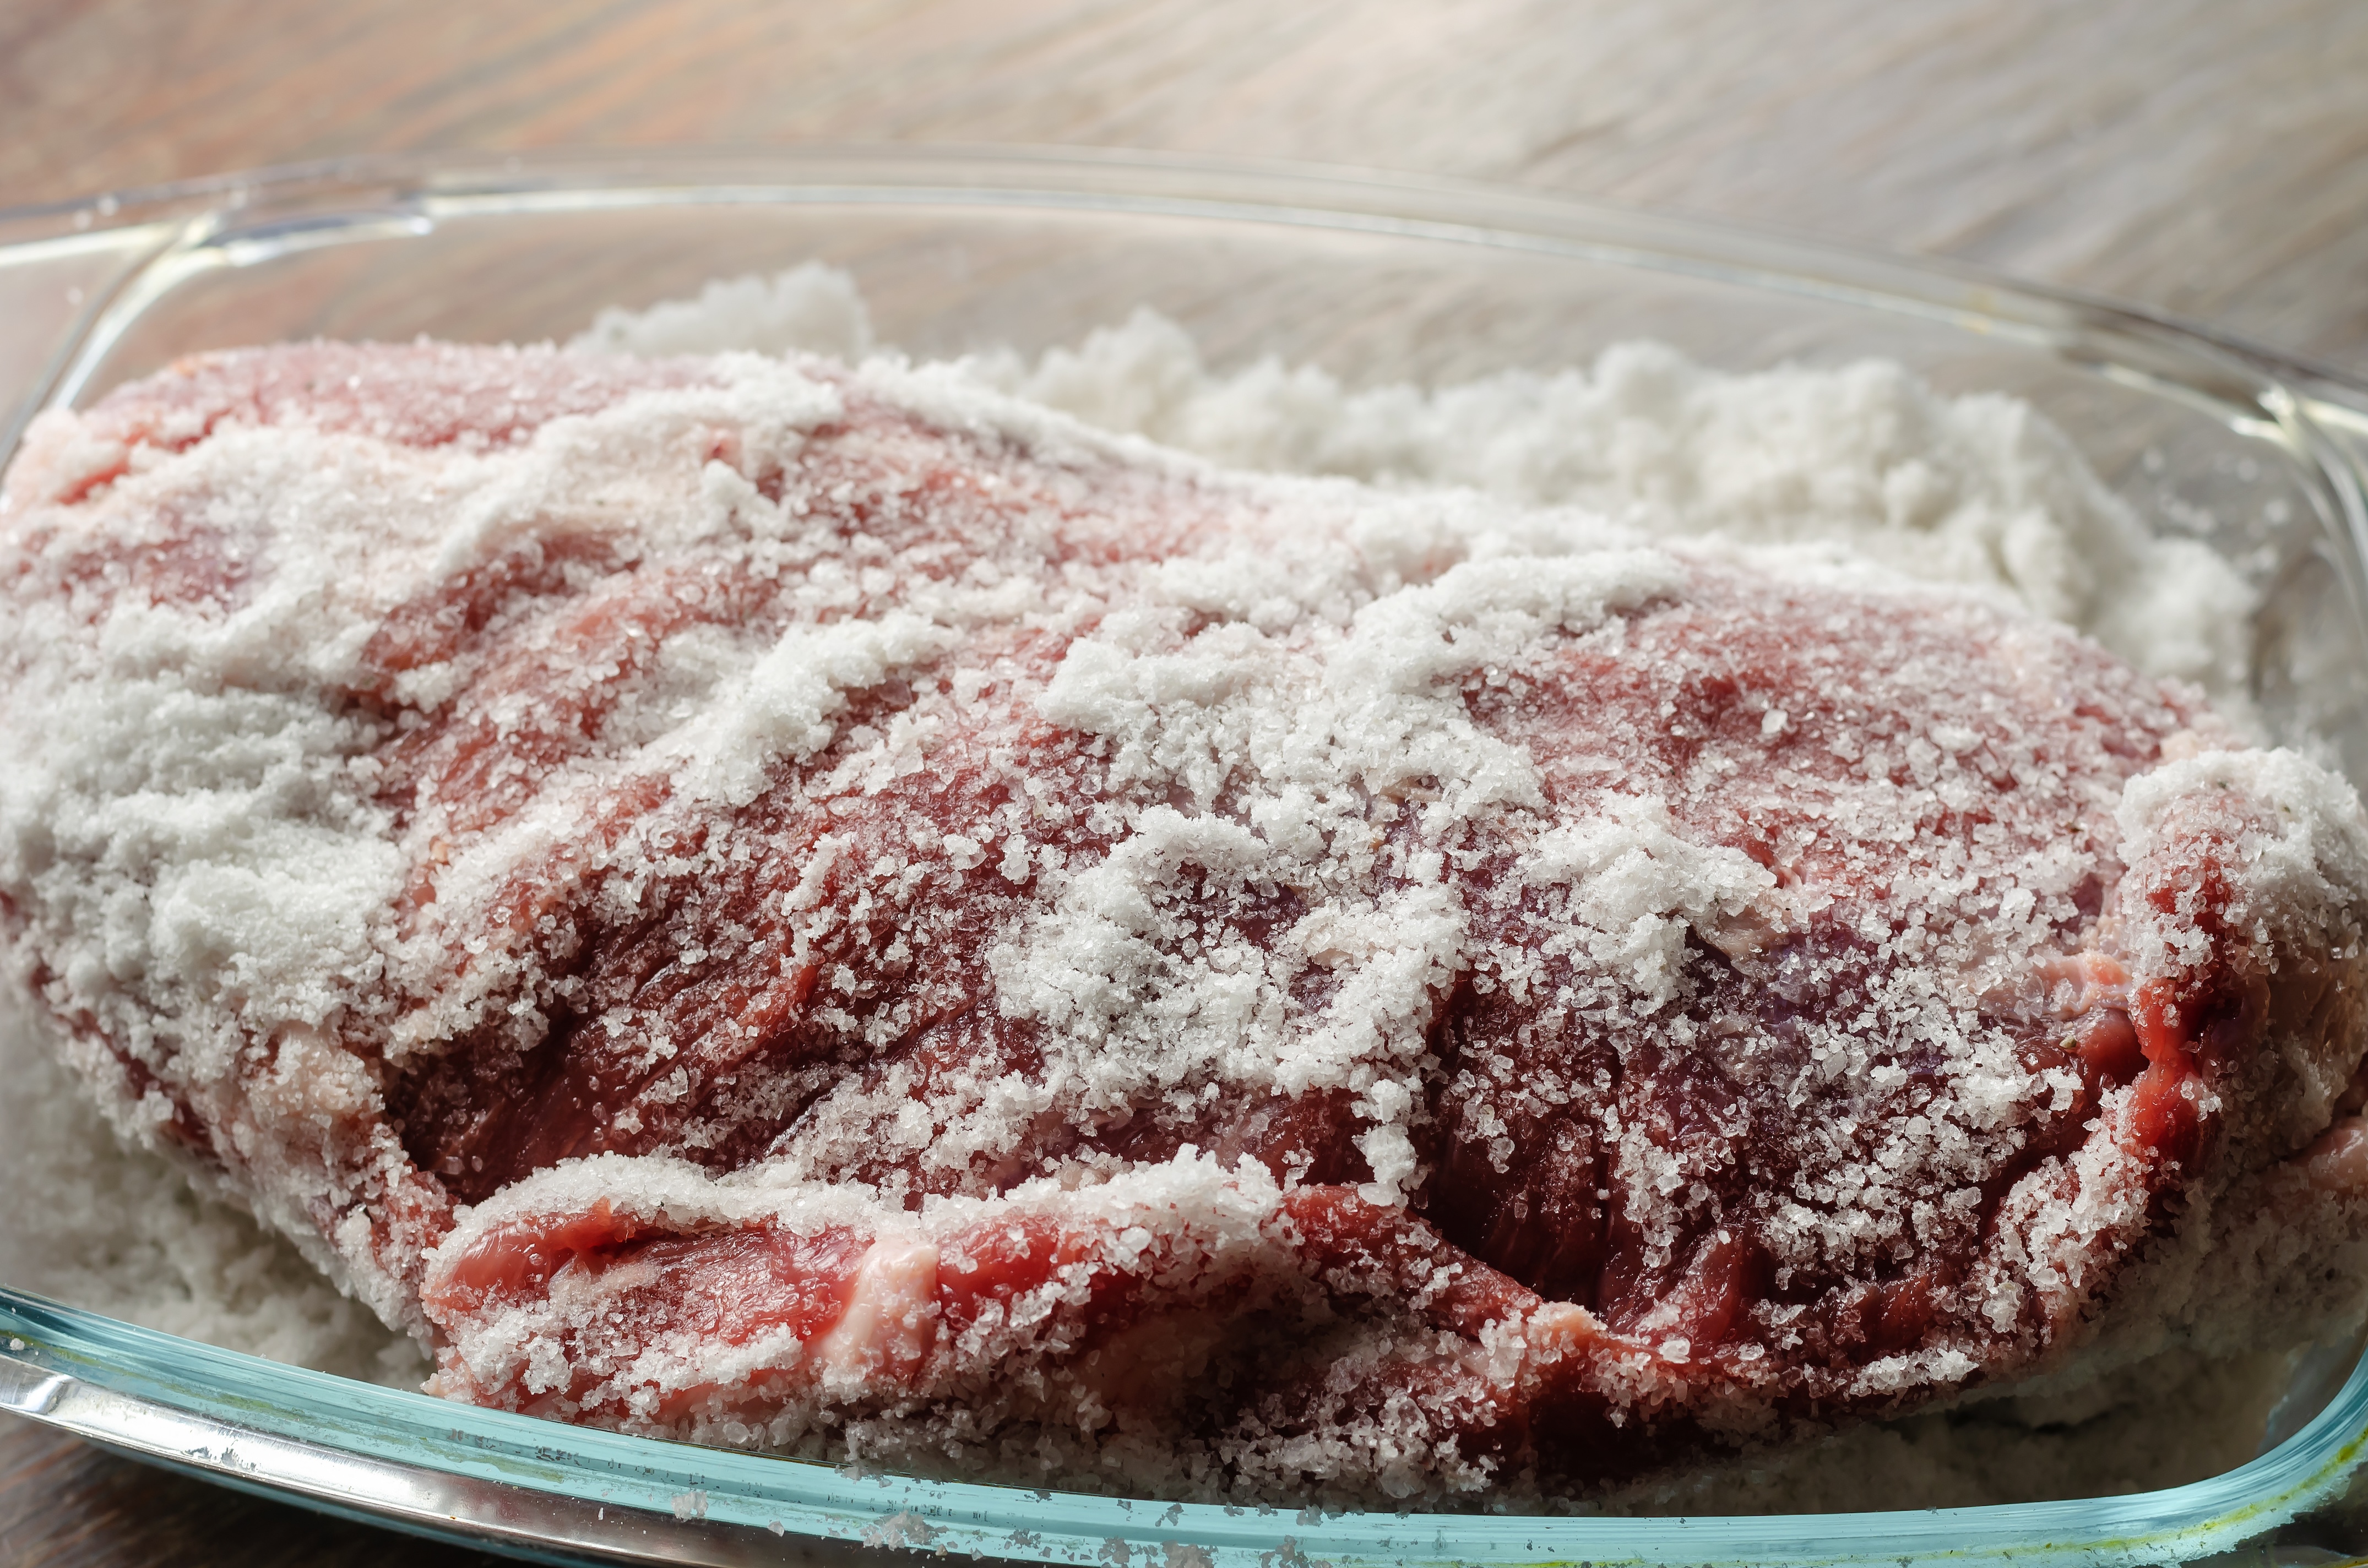
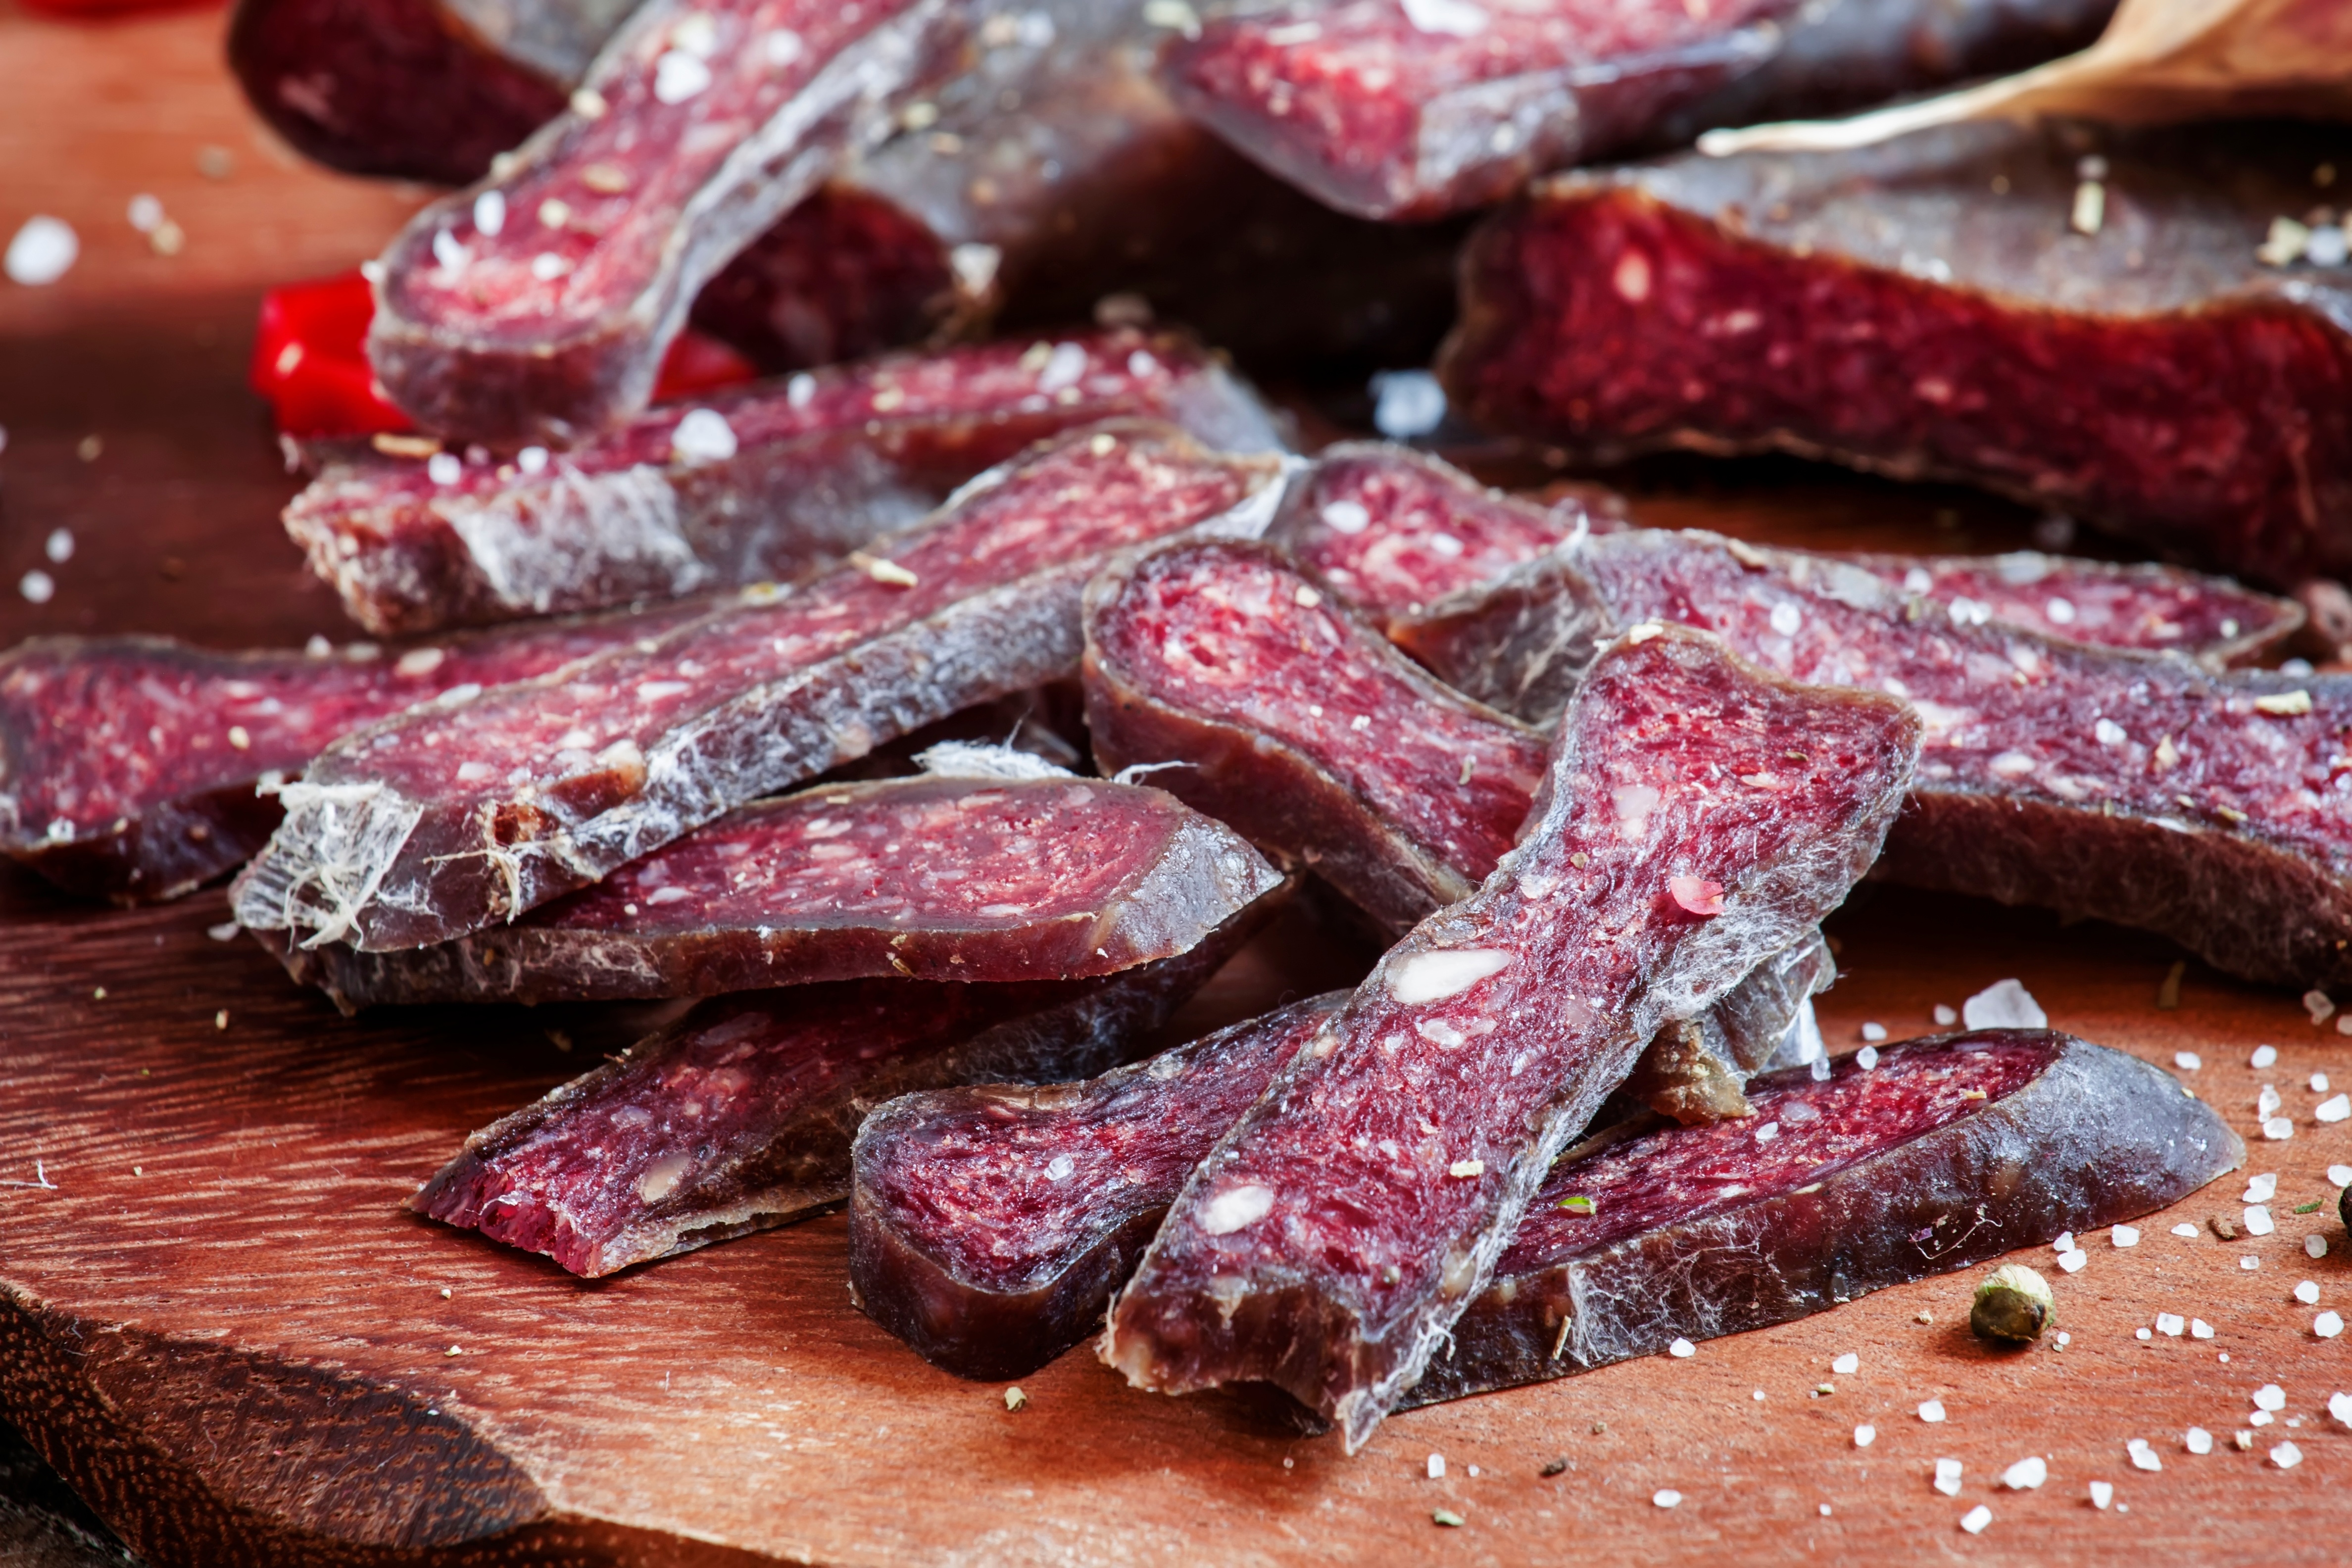
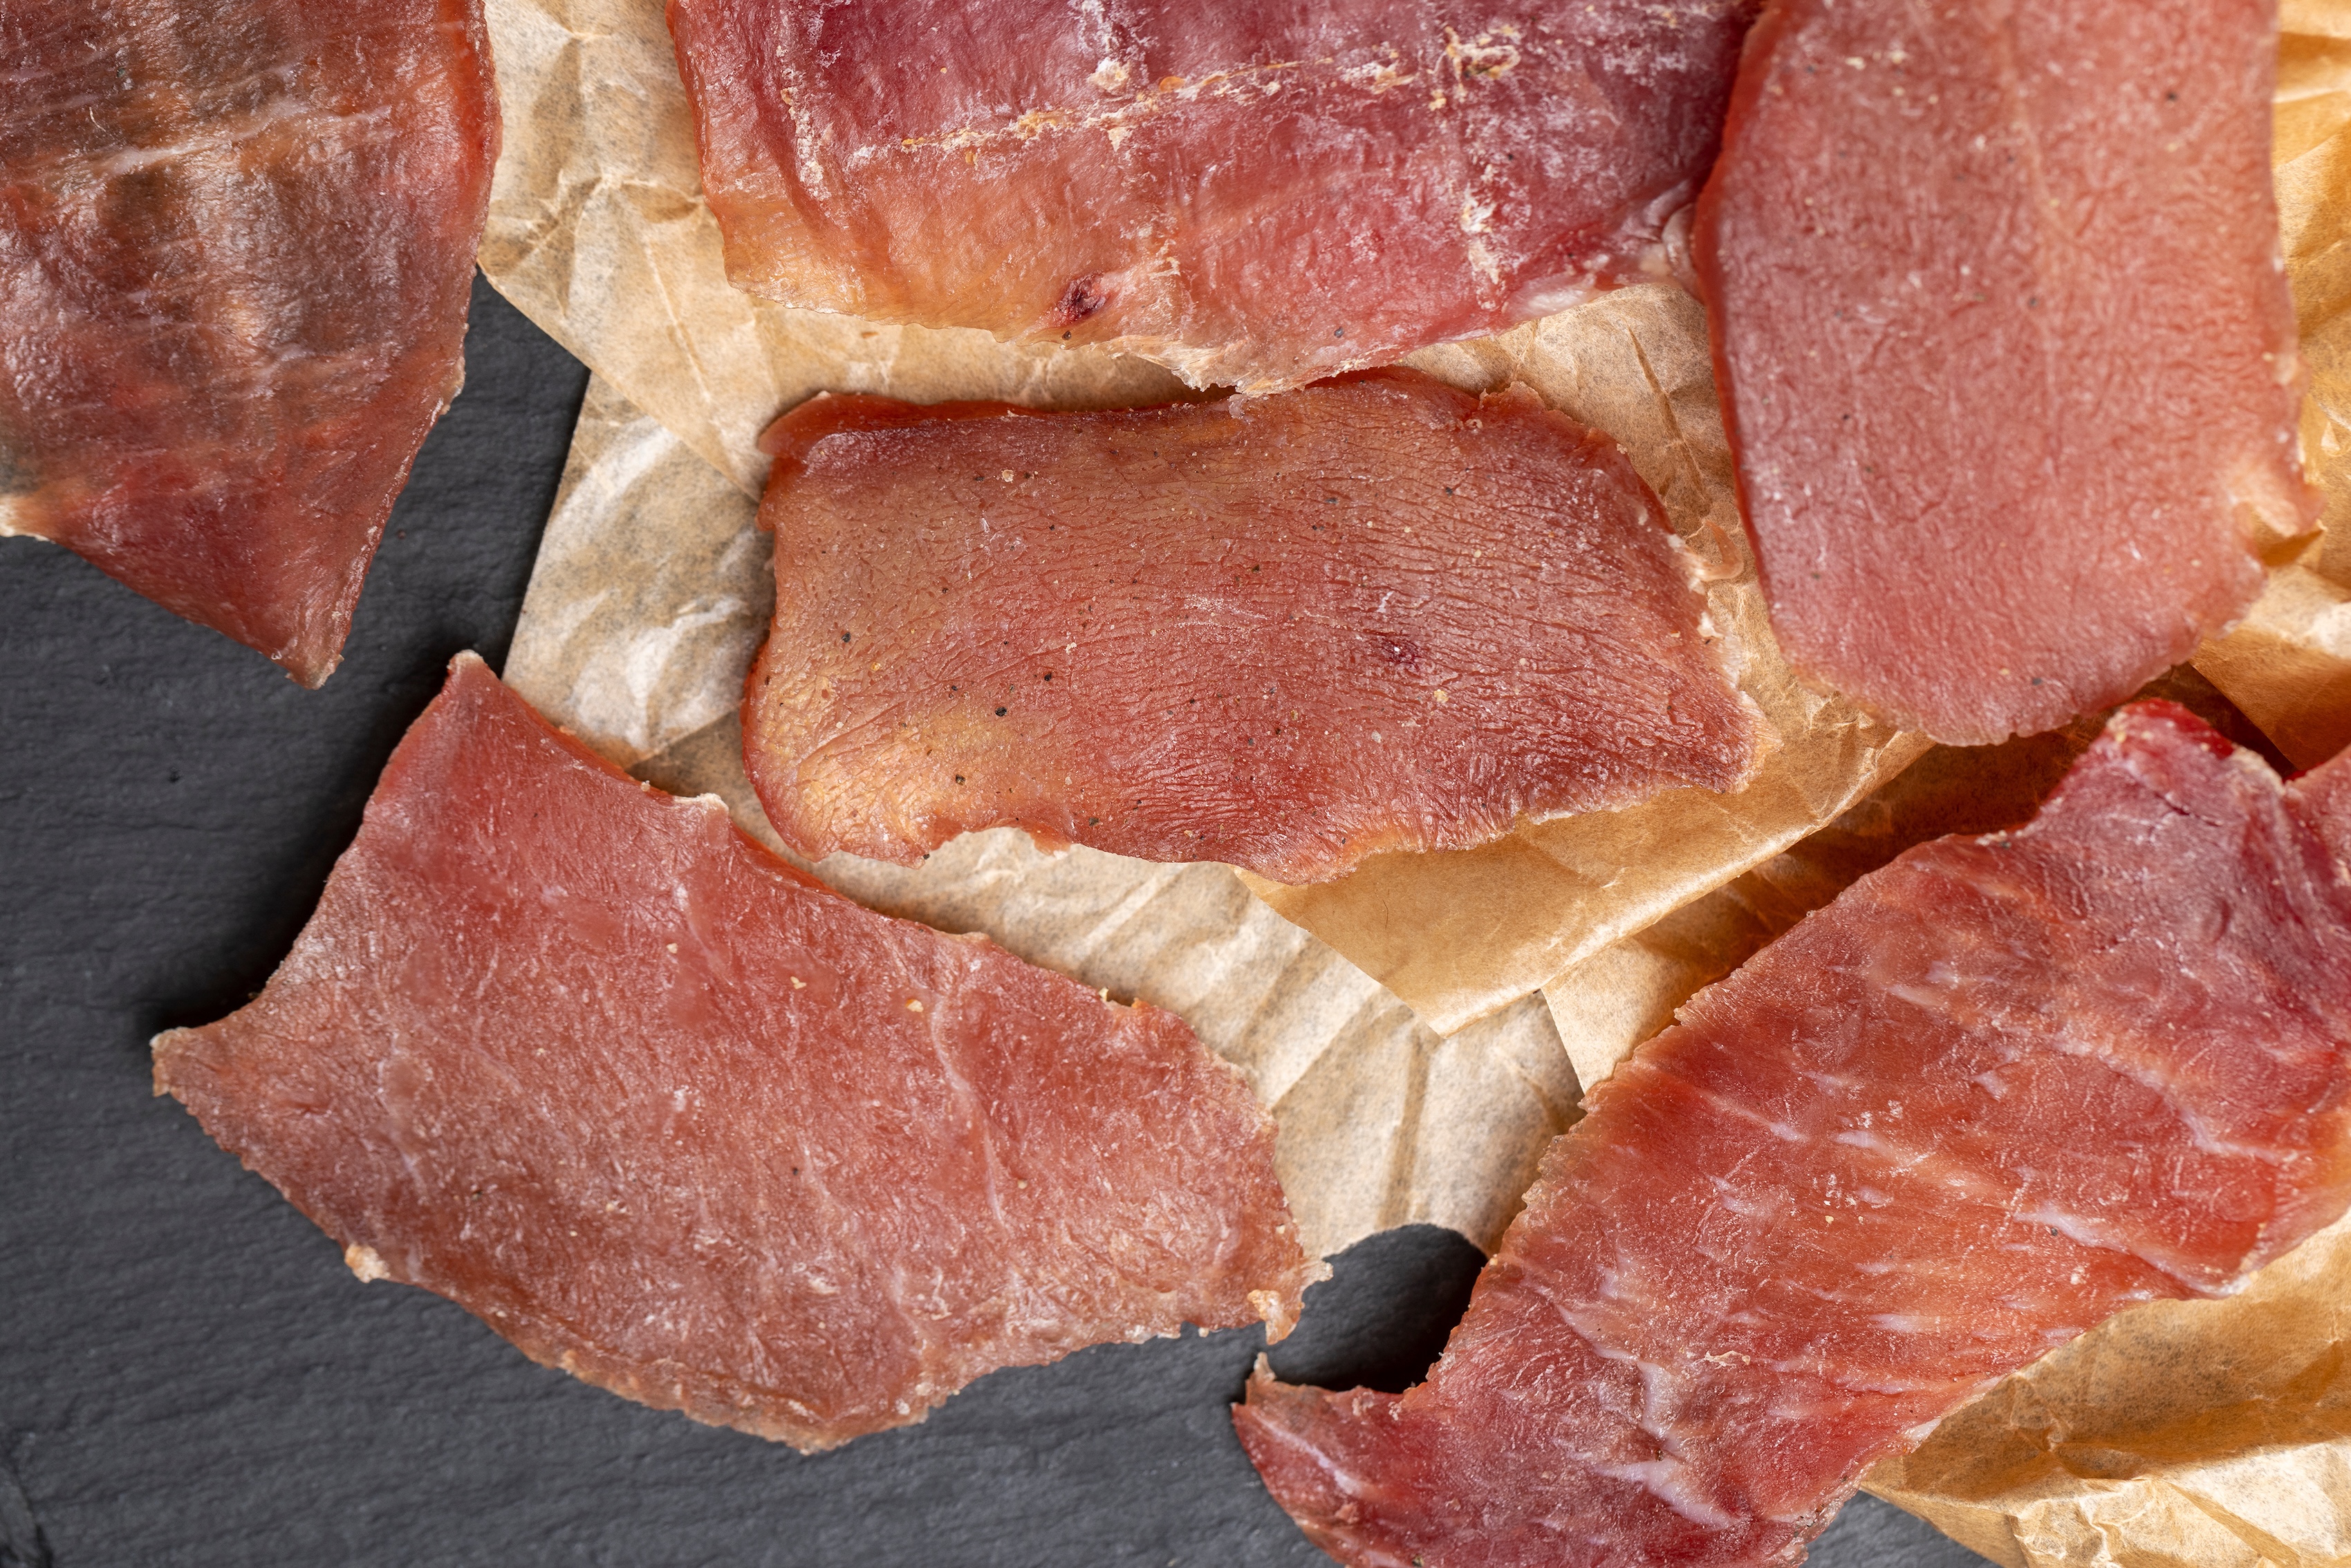
Dry Curing involves rubbing salt (and optional spices) directly onto the meat. This method is ideal for small cuts like pancetta, bacon, and jerky.
How do you salt-cure meat without refrigeration? In dry environments under 45°F, dry curing can be done without a fridge, but it must be monitored carefully for safety.
- Equilibrium Curing gives you more control. You weigh the meat, then apply 2.5–3.5% salt by weight for an even, predictable cure. It takes longer but reduces the risk of over-salting.
- Wet Curing (Brining) means soaking meat in a saltwater solution—perfect for corned beef, hams, or poultry. For added flavor and precision, try the Chard 2 oz Stainless Steel Injector.
Can you cure meat with salt only? Yes—salt alone is effective, but some methods benefit from additional spices or curing agents.
The meat is fully cured when it has lost 35–40% of its original weight.
<div class="rt-cta"><a class="cta-link-button inline-link" href="https://www.fleetfarm.com/category/lawn-garden/grills-outdoor-cooking/grilling-fuels-fire-starters/pellets/_/N-3766318549">Browse pellets at Fleet Farm to match your cut with the perfect smoky flavor</a></div>
Step-by-Step: How to Salt-Cure Meat at Home
If you're wondering how to cure meat at home, the process is simpler than it seems. Here’s a step-by-step guide to get you started:
What meats are best to salt cure? Pork belly, duck breast, venison, and beef brisket are all great options, though almost any protein can be cured with care.
1. Prep and Measurement
Start with clean, trimmed meat and a sanitized workspace. Choose your method (dry, wet, or equilibrium) and weigh your meat to calculate the right amount of salt. For equilibrium curing, that’s typically 2.5–3.5% of the meat’s weight.
2. Applying the Cure
Rub the salt (and any spices) evenly over the entire surface of the meat, or submerge it in a brine. Make sure it’s packed tightly and stored in a food-safe container. Use a vacuum sealer if possible to help the cure absorb more efficiently.
<div class="rt-cta"><a class="cta-link-button inline-link" href="https://www.fleetfarm.com/category/lawn-garden/grills-outdoor-cooking/smokers/_/N-3267959573">Check out smokers at Fleet Farm for traditional flavor and aroma</a></div>
3. How Long to Cure
Curing time varies depending on the cut, thickness, and method used. A small piece may take just a few days, while a large ham could need several weeks. Check for firmness and weight loss to judge readiness.
After curing, you can bring out even more flavor by finishing your meat on a smoker or grill. Check out Fleet Farm’s pellet grills for low-and-slow perfection.
Flavor Additions: Spices, Herbs & Custom Blends
While curing salt is the foundation of preservation, the real magic happens when you start layering in flavor. Many traditional cures use salt and spices like garlic, black pepper, juniper berries, or bay leaves for a savory, old-world taste. For sweeter profiles, especially on bacon or ham, add brown sugar, maple syrup, or honey.
Looking to get creative? Try bold flavors like smoked paprika, Chinese five spice, fennel seed, or mustard seed. These spices bring global flair to your homemade salt-cured meat.
Some home curers prefer pre-made rubs for simplicity, while others enjoy mixing their own custom blends. Either way, having a well-stocked pantry helps.
Safety and Storage Tips

When working with curing salt, safety is key. Curing Salt #1 is used for short-term cures and contains sodium nitrite to prevent bacteria growth. Curing Salt #2 includes both nitrite and nitrate, and is used for long-term dry cures like salami. Always measure carefully and follow recipe guidelines.
Use a vacuum sealer to lock in flavor and ensure even curing—browse vacuum sealers at Fleet Farm.
Watch for spoilage signs: a foul smell, slimy texture, or mold that isn’t white are all red flags. Once cured, meat should be stored in temperatures above freezing but below 45°F (7°C) and kept away from foods like cheeses that absorb strong aromas.
Proper humidity matters, too. 60 to 70% humidity prevents meat from drying too fast and allows good bacteria to thrive.
How long can salted meat last? If stored correctly, many salt-cured meats can last for months or even longer.
From Past to Pantry: The Case for Salt-Curing Meat
Salt-cured meat is a time-tested way to unlock bold, complex flavors. Learning how to cure meat at home puts you in control of taste, quality, and ingredients. With the right salt, tools, and storage, you can safely craft meats that last for months.
Ready to get started? Explore Fleet Farm’s full line of curing salts, spices, smokers, and vacuum sealers to bring your homemade meats to life.