How to Compost Leaves in Fall for a Spring Garden
Learn how to compost leaves this fall for a healthier spring garden. Get tips on the best leaves, composting equipment, and how to build your pile.
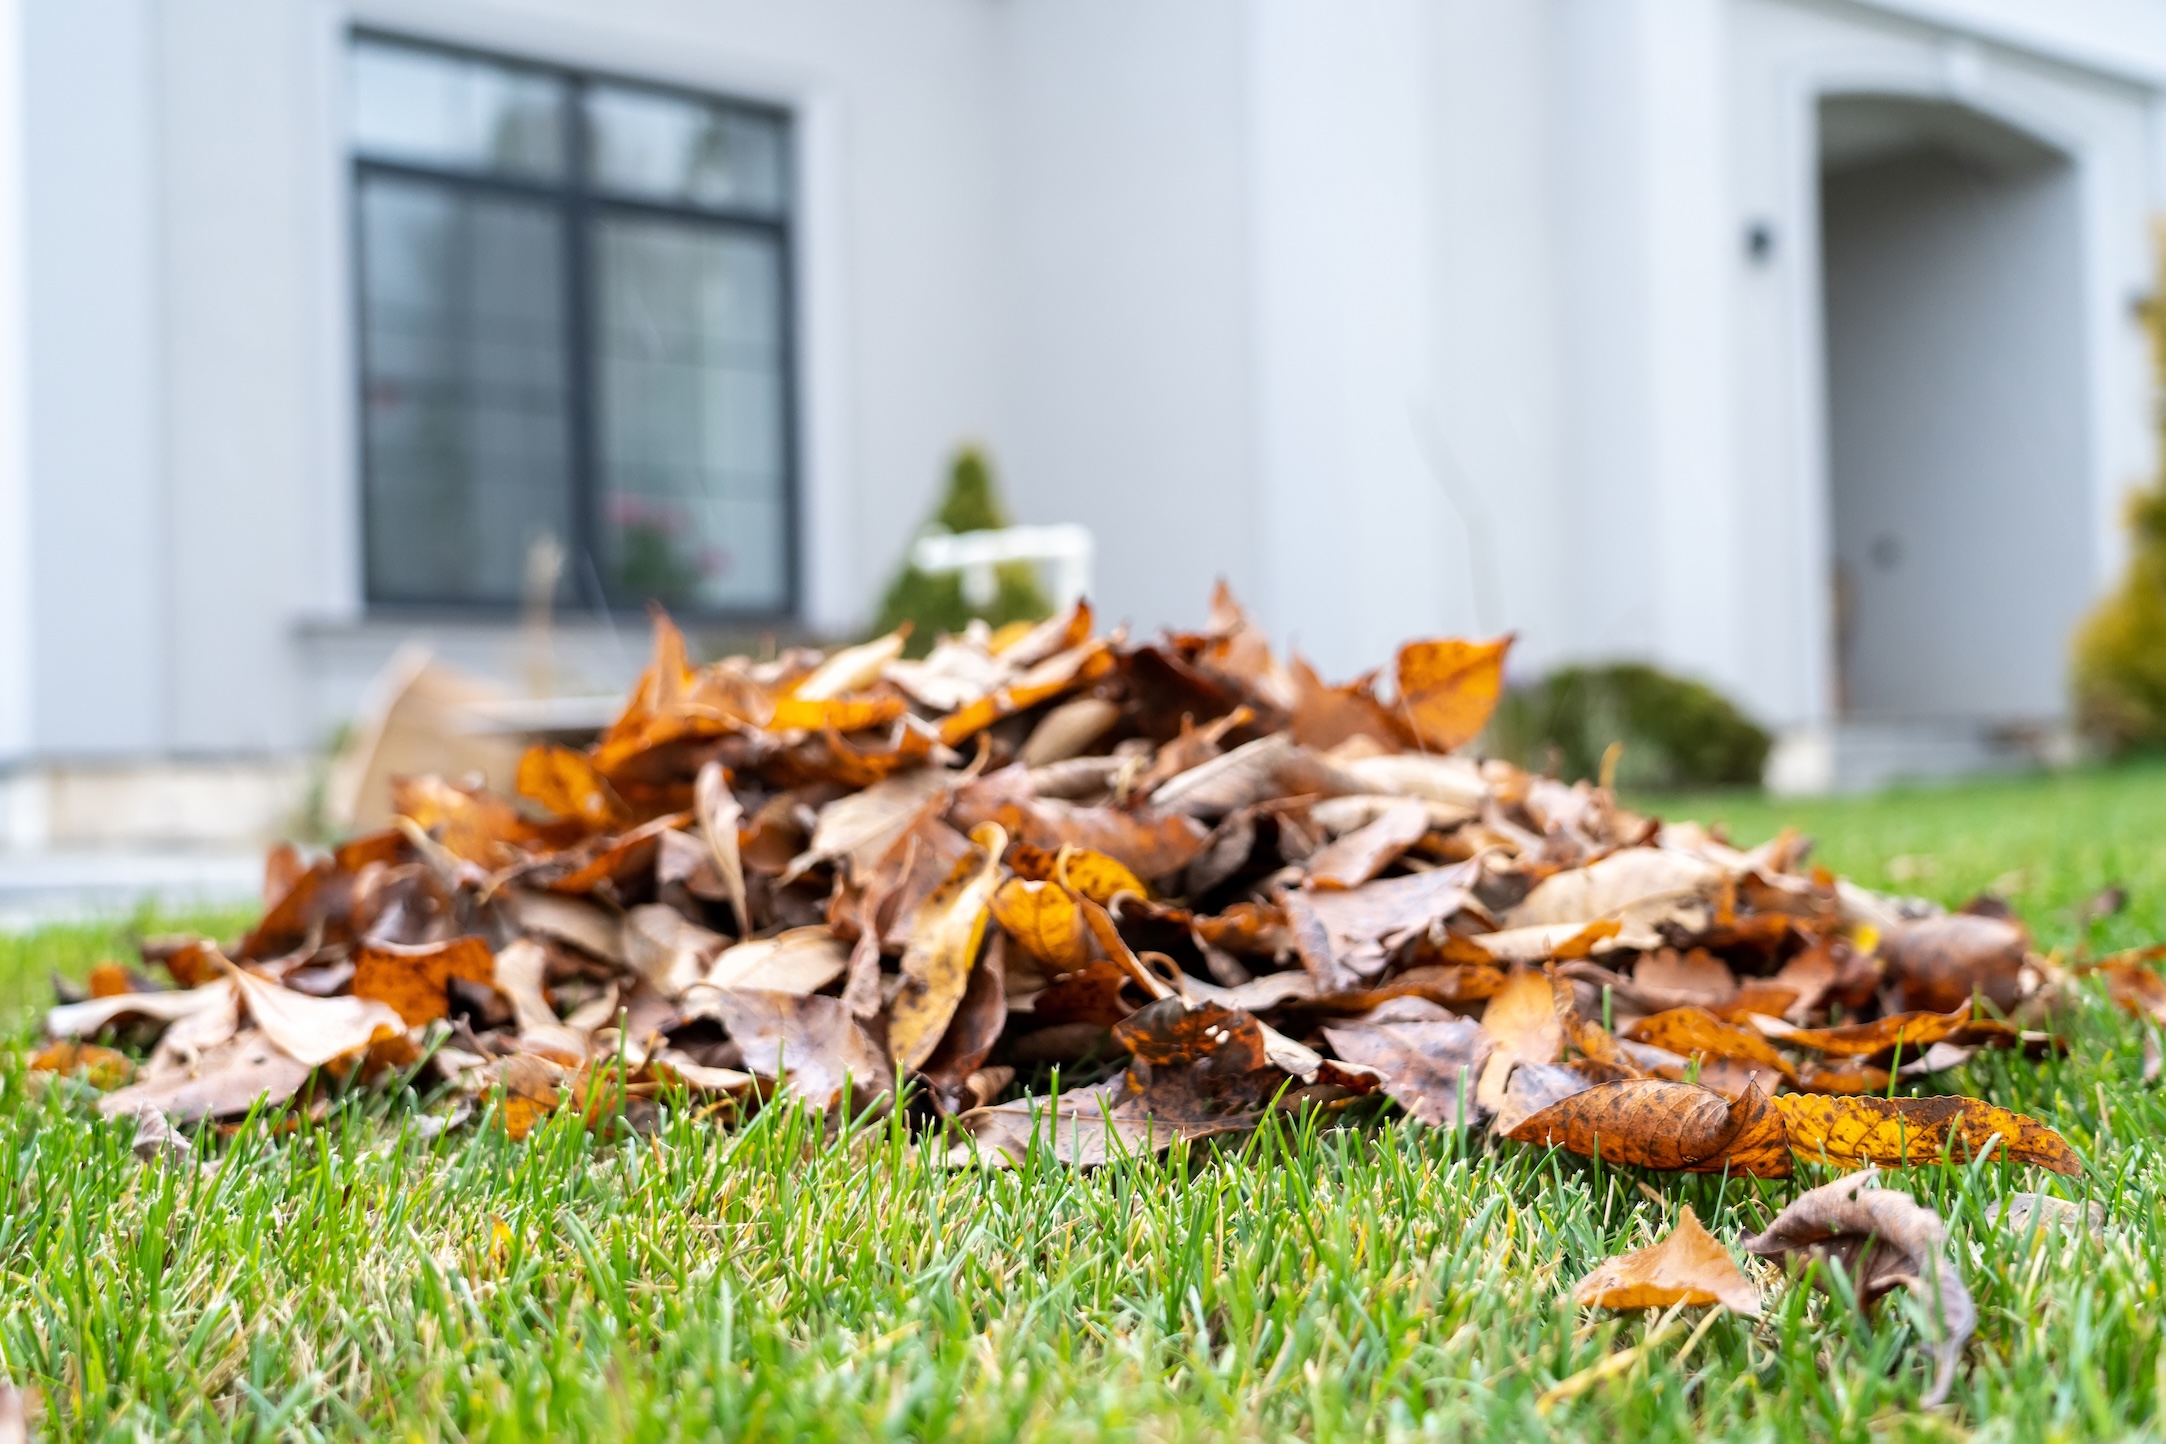
Learning how to compost leaves is one of the easiest ways to improve your backyard composting setup, and fall is the perfect time to start. With trees dropping piles of leaves across the Midwest, you’ve got lots of natural material ready to turn into rich compost by spring. Below, we’ll walk you through the basics, including what tools you’ll need, how to build a pile, and tips for keeping it going through water.
Why Fall Leaves Are Perfect for Composting
If you’re considering composting leaves, fall gives you a head start. That’s when trees drop loads of carbon-rich “browns,” which are key for breaking down kitchen scraps and other “greens.” In the Midwest, leaf drop typically peaks in late October, giving you just the right amount to build a solid pile. Most fall leaves have a carbon-to-nitrogen ratio between 35:1 and 85:1, which is perfect for compost. Over time, they break down into a rich soil amendment that improves garden health come spring.
Related Article: Keeping Your Garden Clean and Healthy in the Fall Fall cleanup—from removing dying plants to mulching and composting—is a key step in preparing your garden for spring. This article walks through smart cleanup tasks that set your spring compost pile up for success and reduce next season’s workload.
What You Need to Get Started

To begin backyard composting, you’ll need two things: the correct kind of leaves and a few basic tools. We’ll cover which leaves break down best and which ones to skip, plus a few valuable items to keep your pile turning and cooking all season long.
Best Leaves for Composting
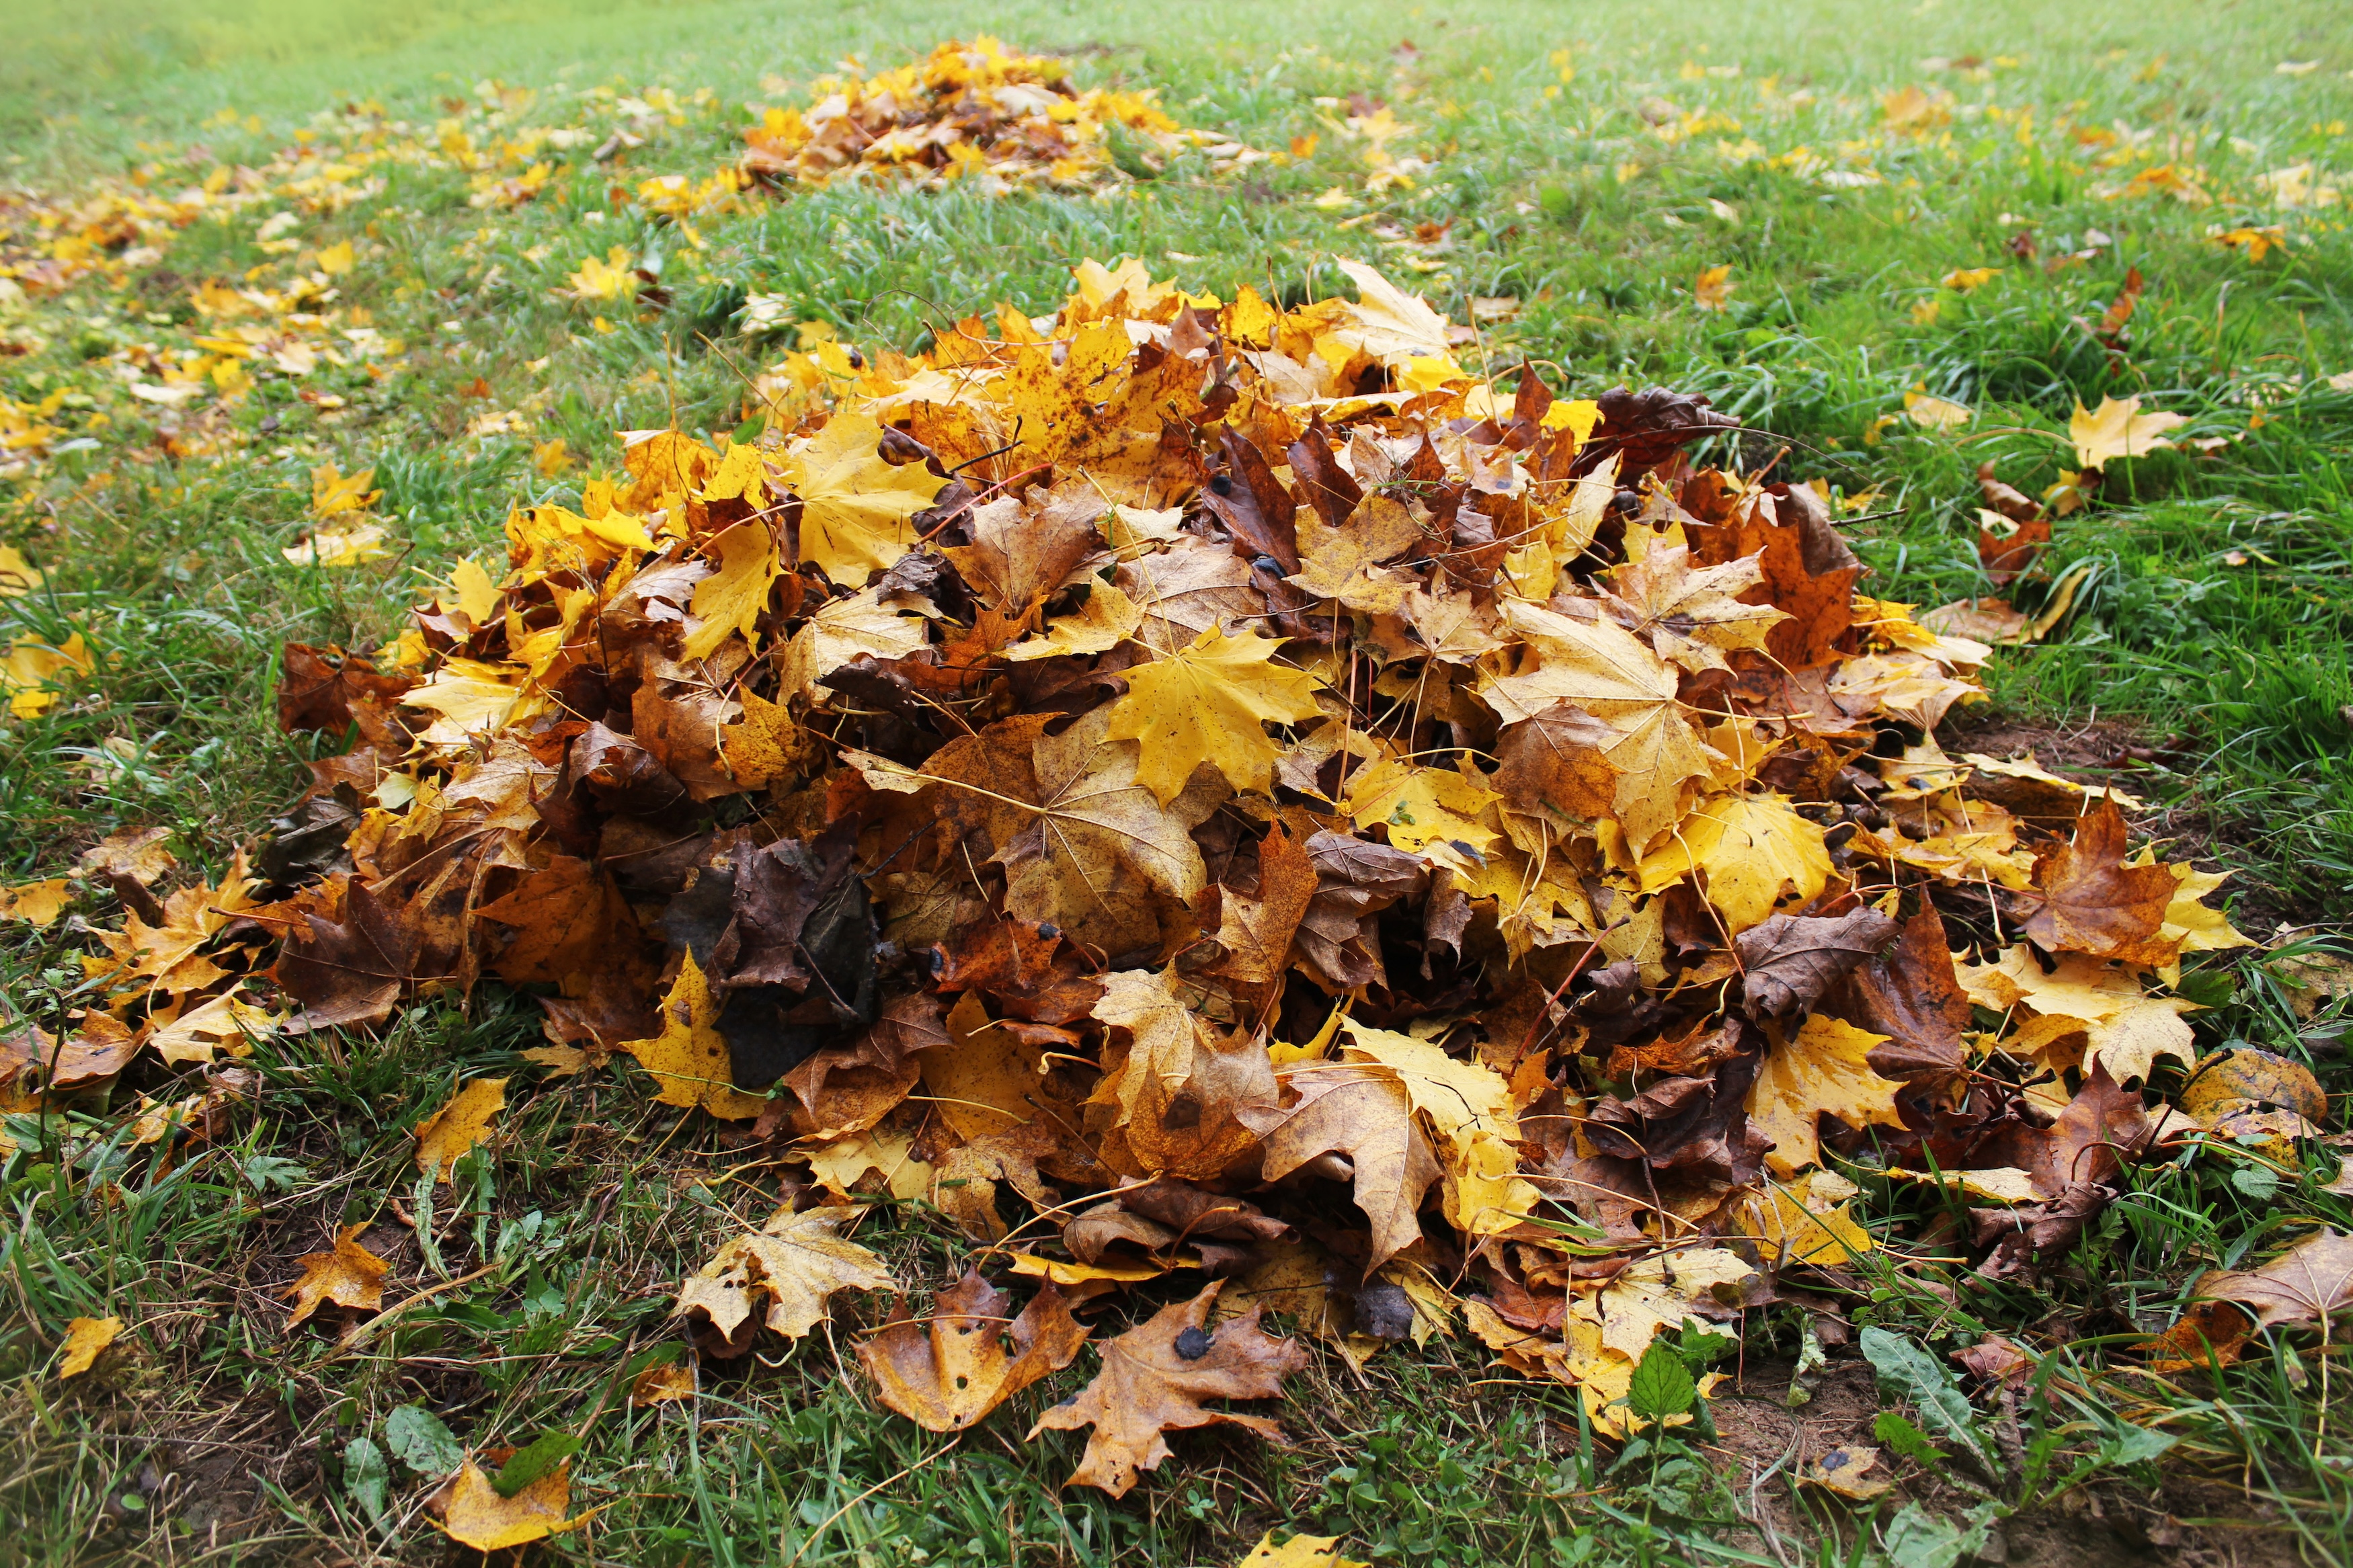
The best leaves for composting are thin and break down quickly. Good choices include maple, birch, cherry, ash, and elm. These leaves have lower lignin and fewer tannins, so they decompose faster and provide valuable nutrients. You’ll want to avoid black walnut leaves, which are toxic to some plants, and keep oak leaves to a minimum. They’re more acidic and slower to break down. Try to avoid diseased or insect-damaged leaves as well.
A healthy mix of easy-to-decompose leaves improves balance and keeps your compost pile active through fall. Leaf blowers are also great for gathering leaves.
Product Spotlight: Gorilla 7-cu. ft. Poly Yard Cart Hauling shredded leaves, compost materials, or finished soil is easier with the Gorilla 7 cu ft Yard Cart. Its tough poly bed and large wheels handle rough ground with ease, perfect for fall cleanup and composting tasks.
Tools and Supplies You’ll Want
You don’t need a lot to get started with composting, but having the best composting equipment makes things easier. A compost bin or tumbler keeps your pile contained. A compost thermometer lets you check the heat so you know when to turn it. A pitchfork or spade is handy for mixing, and a shredder or mulching mower makes quick work of leaves. Once shredded, store them in breathable bags or bins so you can add more as needed. Carts and wheelbarrows are handy for moving your materials around as well.
Here’s a quick shopping list:
- Workmax 5-Tine Manure Fork w/ Fiberglass Handle
- SEYMOUR S300 DuraLite 16 ga Garden Spade w/ 26 in Hardwood Handle & Steel D-Grip
- AcuRite Digital Thermometer w/ Temperature Sensor Probe
- True Temper 8 cu ft Poly Wheelbarrow w/ Dual Wheels
- Espoma Organic Compost Starter Plant Food
Two Simple Ways to Connect Leaves
There are a couple of easy methods for turning fall leaves into compost. You can create rich leaf mold by letting it sit and break down slowly, or take the faster route with hot composting. Either way, you’ll end up with something your spring garden will appreciate.
The Easy Way: Leaf Mold
If you don’t want to manage a full compost pile, making leaf mold is a no-fuss option. Just rake up your fall leaves, shred them if you can, and pile them in a corner of your yard or place them in a large ventilated bag. Over time, typically 6 months to a year, the leaves break down into a dark, crumbly material that improves soil structure and holds moisture. It won’t be as rich in nutrients as compost, but it’s excellent for mulching and improving clay-heavy soils.
Traditional Hot Composting
Hot composting makes things faster by creating the proper balance of browns and greens. Aim for about 3 parts dry leaves to 1 part kitchen scraps or grass clippings. Use a compost thermometer to check the temperature. It should stay between 100°F and 140°F. Temperatures above 160°F can kill beneficial microorganisms, while temperatures below this range indicate slower decomposition.
Keep the pile moist but not soggy, and turn it every week or two. A sunny spot keeps the pile warm, especially as the weather cools. You can expect finished compost in 3 to 6 months if conditions stay right.
Can I put moldy fruit in my compost? Yes, moldy fruit is safe to compost. In fact, the mold shows it's already breaking down. Just be sure to bury it in the pile and balance it with dry materials like leaves to avoid odor or pests.
How to Build and Maintain Your Pile
Once you’ve gathered your materials, it’s time to build your compost pile. Layering the correct mix of browns and greens keeps things balanced, and a few winter strategies keep your pile working even in cold weather.
Layering and Moisture Tips
Think of your compost pile like a lasagna. You’ll have layers of dry leaves (browns), fresh scraps (greens), and a little garden soil. A good size is about 3 to 5 feet high and wide, which traps heat. Keep the pile damp, like a wrung-out sponge. If it’s too dry, decomposition slows down. If it’s too wet, things get soggy and smelly. Covering your pile during heavy rain is a good idea, and turning it every week or two adds the oxygen microbes need to break materials down.
What is the first thing to put in a compost bin? Start with a base layer of browns like shredded leaves or straw. These help with airflow and drainage. Then, begin layering in greens like fruit scraps or grass clippings to build a balanced pile.
Winter Strategies for the Midwest
Cold weather slows composting down, but it doesn’t have to stop entirely. To keep your compost pile going, store it in a sunny spot and cover it with a tarp or layer of straw for insulation. You can also save shredded leaves in bags and add them gradually through winter to keep your brown-to-green ratio on track. You might not see as much activity. However, your pile will continue breaking down, just at a slower pace.
Related Article: Composting in the Winter Months Cold weather doesn't mean composting has to stop. Learn how to insulate your pile, manage moisture, and keep microbes active even when temps drop. This article offers simple ways to keep your compost going strong through the Midwest winter.
When It’s Ready and How to Use It

After a few months of breaking down, your compost will be ready to use. Knowing what to look for ensures you avoid common composting mistakes and make the most of your hard work once spring rolls around.
Signs of Finished Compost
You’ll know your compost is ready when it’s dark, crumbly, and smells like fresh soil. It should look nothing like the leaves or scraps you started with and be cold to the touch. Finished compost adds nutrients and texture to your garden without overwhelming your plants.
Product Spotlight: Espoma 1-cu. ft. Organic Land & Sea Gourmet Compost A premium, 100% organic compost that blends aged forest products, peat, humus, and nutrient-rich lobster and crab meals. Enhanced with Myco‑Tone® mycorrhizae, it promotes stronger roots and healthier plants—ideal for enriching garden soil before spring planting
Garden Applications in Spring
Once your compost is finished, it works great as a soil amendment. You can mix it into garden beds, use it as mulch around plants, or blend it into potting soil. Some gardeners also make compost tea by soaking a small amount of water to use as a liquid feed. For best results, consider pairing your compost with a spring soil test and fresh fertilizer. You can also browse Fleet Farm’s selection of garden soil to supplement your mix and get your garden off to a good start.
Related Article: A Guide to Soil pH for Vegetable and Flower Gardening Compost works best when your garden’s soil is in the right pH range. Learn how to test and adjust pH to help your spring compost blend in and feed plants more effectively.
Easy Composting Mistakes
Getting started with composting leaves is easy. However, a few simple slip-ups slow things down. One of the most frequent composting mistakes is using the wrong kind of leaves. Stick to the best leaves for composting, like maple or birch, and avoid black walnut or diseased ones. Another mistake is not adding enough green materials, such as fruit peels or grass clippings. If the pile gets too dry or isn’t turned regularly, it might cease breaking down. Keep your pile balanced, moist, and active for the best results.
Can you compost banana peels? Yes, banana peels break down easily and add valuable nutrients like potassium and phosphorus to your compost pile. Just cut them into smaller pieces to speed up decomposition and mix them in with other greens and browns.
Turn Fall Leaves Into Garden Gold by Spring
Getting into backyard composting is a great way to clean up your yard and improve your garden soil. It doesn’t cost much or require much effort either. With the proper composting equipment, fall leaves become a valuable resource for spring planting.
Key Takeaways:
- Fall leaves are ideal for composting thanks to their high carbon content
- A good mix of browns and greens keeps your pile active
- Hot composting makes things quicker with heat and moisture
- Finished compost looks dark, crumbly, and smells like soil
- Even in winter, composting can continue at a slower pace
Action Items:
- Collect and shred the correct type of leaves
- Choose a compost bin or create a pile in sunny spot
- Keep the pile moist and turn it every week or two
- Use a compost thermometer to monitor progress
- Mix in green materials to balance the pile
<div class="rt-cta"><a class="cta-link-button inline-link" href="https://www.fleetfarm.com/?srsltid=AfmBOorsSpvvHHJad6Vh5BUaKuUvjahtRziAgeJOPRKS4WHhbvzN41Gw">Shop Fleet Farm for composting bins, tools, and fall garden supplies</a></div>