Composting for Beginners
Making your very-own nutrient-rich soil might sound like a tall task, but composting makes the process easy every step of the way. Check out this complete guide on how to compost, and what you should include or not include in your compost pile.
Compost gets its start from organic materials that homeowners can easily access — yard waste and food scraps — which break down into a nutrient-rich soil amendment that can be added to garden beds.
Making your own compost is easier than it sounds. Once you have it set up, all you need to do is add four ingredients — carbon (yard waste), nitrogen (food scraps), oxygen and water —with a few months of regular turning, you’ll have your very-own compost.
Benefits of composting
For generations, compost has been the go-to for gardeners. These are some of the ways compost can enrich the soil and help plants thrive:
- In sandy soils, compost raises the soil’s ability to retain moisture and nutrients, making plants less susceptible to drought damage
- Holds nutrients in place so plant roots may access them
- Prevents the soil from forming a crust at the surface, which makes it easier for water to soak in, reaching seeds and roots
- In clay soils, compost improves the aeration and drainage
Setting up a compost bin
Use a bin to contain the compost. Bins can be purchased pre-made, but fencing material, lumber and cement blocks are all things you can use to build a homemade bin.
When making a bin, you can opt to make it bottomless. As the mixture comes in contact with the ground, it allows worms and other beneficial organisms to find their way into the heap.
To find the best location for your bin, make sure it gets a few hours of sunlight exposure a day, in proximity to your garden beds. Of course, you’ll want to be mindful of cross winds, so it doesn’t fill your yard and home with unpleasant odors.
Getting started
To start composting, you’ll need to fill your bin and create the right conditions so it can generate some core heat that will quickly decompose the organic materials.
Tip: Smaller organic materials break down more quickly. Make your materials as small as possible before adding to the bin. Use a shredder or mower on yard waste, and chop fruit and veggie scraps into small pieces.
1. Fill the bottom of your compost bin with 8 to 10 inches of leaves and grass clippings. This is your carbon layer. Then, sprinkle with water so everything gets moist, but not soaking wet.
2. On top of this layer, add the nitrogen layer, which can be one of the following:
- Food scraps (see the below section)
- Manure: Add a 2-inch layer
- Fertilizer: For every 25 square feet of surface in the bin, sprinkle 1/3 to 1/2 cup of fertilizer (ammonium nitrate, ammonium sulfate or high nitrate lawn fertilizer) on top of the heap
- Compost starter: There are many products on the market to kick start the composting process
3. Top off with a layer of soil or completed compost to add additional microbes to your mix. Continue to layer the carbon, water and nitrogen until you reach the top of the bin.
4. Over the coming weeks, allow the compost to “cook.” The heap’s center should reach 130 to 160 degrees Fahrenheit.
5. Twice a month, turn the pile with a pitchfork to maintain optimal temperature level so the heap continues to decompose. Sprinkle with water, if needed.
6. Maintaining the heap like this should make it garden-ready in two to four months. The heap should settle to half its original height and should have a pleasant earthy smell. You may use a screen to filter out large pieces that need to be returned to the compost pile.
Tips for composting food scraps
To get started, a countertop container with an airtight fitted lid makes it easy to get into the habit of saving food scraps. Choose a container designed for temporary storage of scraps intended for composting. It should have a tight-fitting lid and a charcoal filter to manage odor. When the container gets full, simply empty the contents into your compost pile.
Important: Keep in mind, not all foods can be composted. Use this list to know which items can go in and which should be kept out.
Compostable food scraps
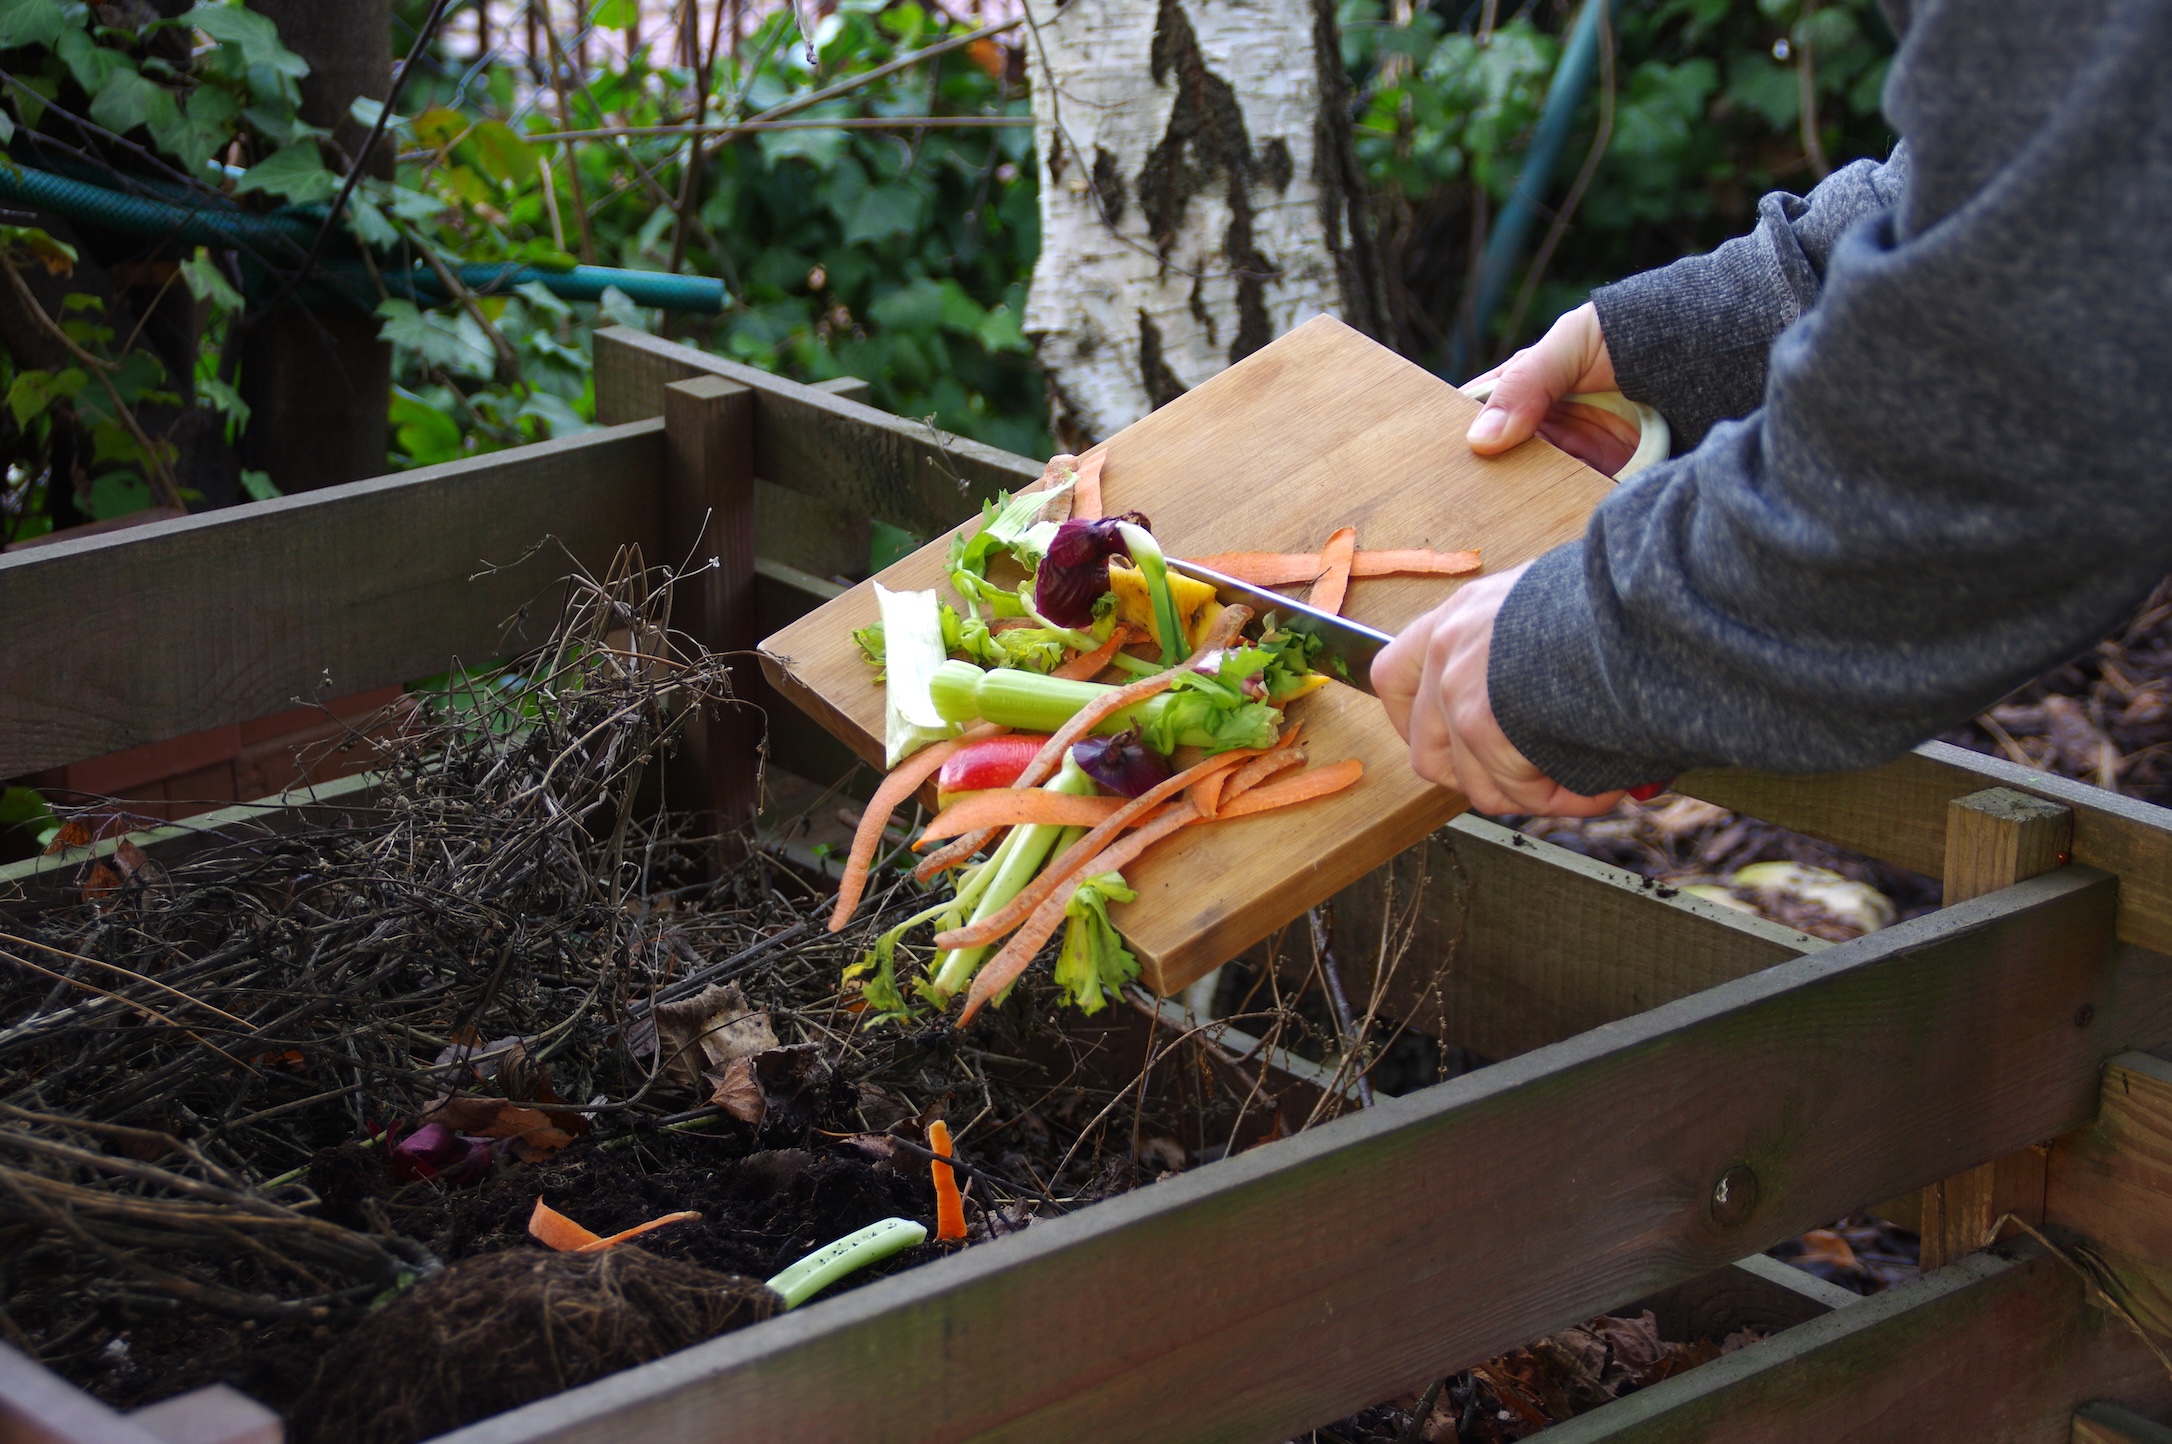
- Fruit and vegetable scraps and peelings
- Coffee grounds and tea leaves
- Eggshells (rinsed of whites and yolks)
Do not compost
- Meat
- Bones
- Fat
- Grease
- Dairy products
How to maintain a winter compost pile
Just because the weather is cold doesn’t mean it’s time to stop adding to your compost pile. These are things you can do to keep your pile going all winter long. When you’re doing your fall cleanup, reserve a supply of dry leaves, stored in yard bags. When those colder temperatures settle in for good, top off the heap with a 12-inch layer of dry leaves, but keep a small opening for food scraps. Throughout the winter, add food scraps to this opening, topping off with a 2 to 3-inch leaf layer. In the spring, when the heap thaws, turn the mixture with a pitchfork and sprinkle water as needed.